

Content
– Preparation & tools
Chapter 2 – Hardware installation
Chapter 3 – Software installation
I believe this guide is just for a smaller group of (dedicated) people, so I will write it in English. Enjoy!
Chapter 1 – Intro
This is a more detailed version of the Cubicgarden.com guide of the same upgrade procedure.
http://cubicgarden.com/2013/05/05/upgrading-the-pacemakers-hard-drive/
Time duration: less then one hour.
Troubleshooting: http://pacemakerdevice.org and http://pacemakerdevice.org/forum
1.1 Preparation & tools
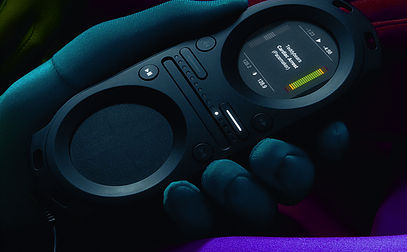
Get your Tonium Pacemaker (Model No. P211)
..and load the Pacemaker before start.
One Mini-B USB to USB cable. For computer sync.
One ESD protection band
One Screwdriver Torx T6
One ZIF 40-pin SSD/PATA (Solid State Disc, Parallel (MLC type)
One 2.5 flat screwdriver (or something small and flat) to release the ZIF cable with.

SSD specifications
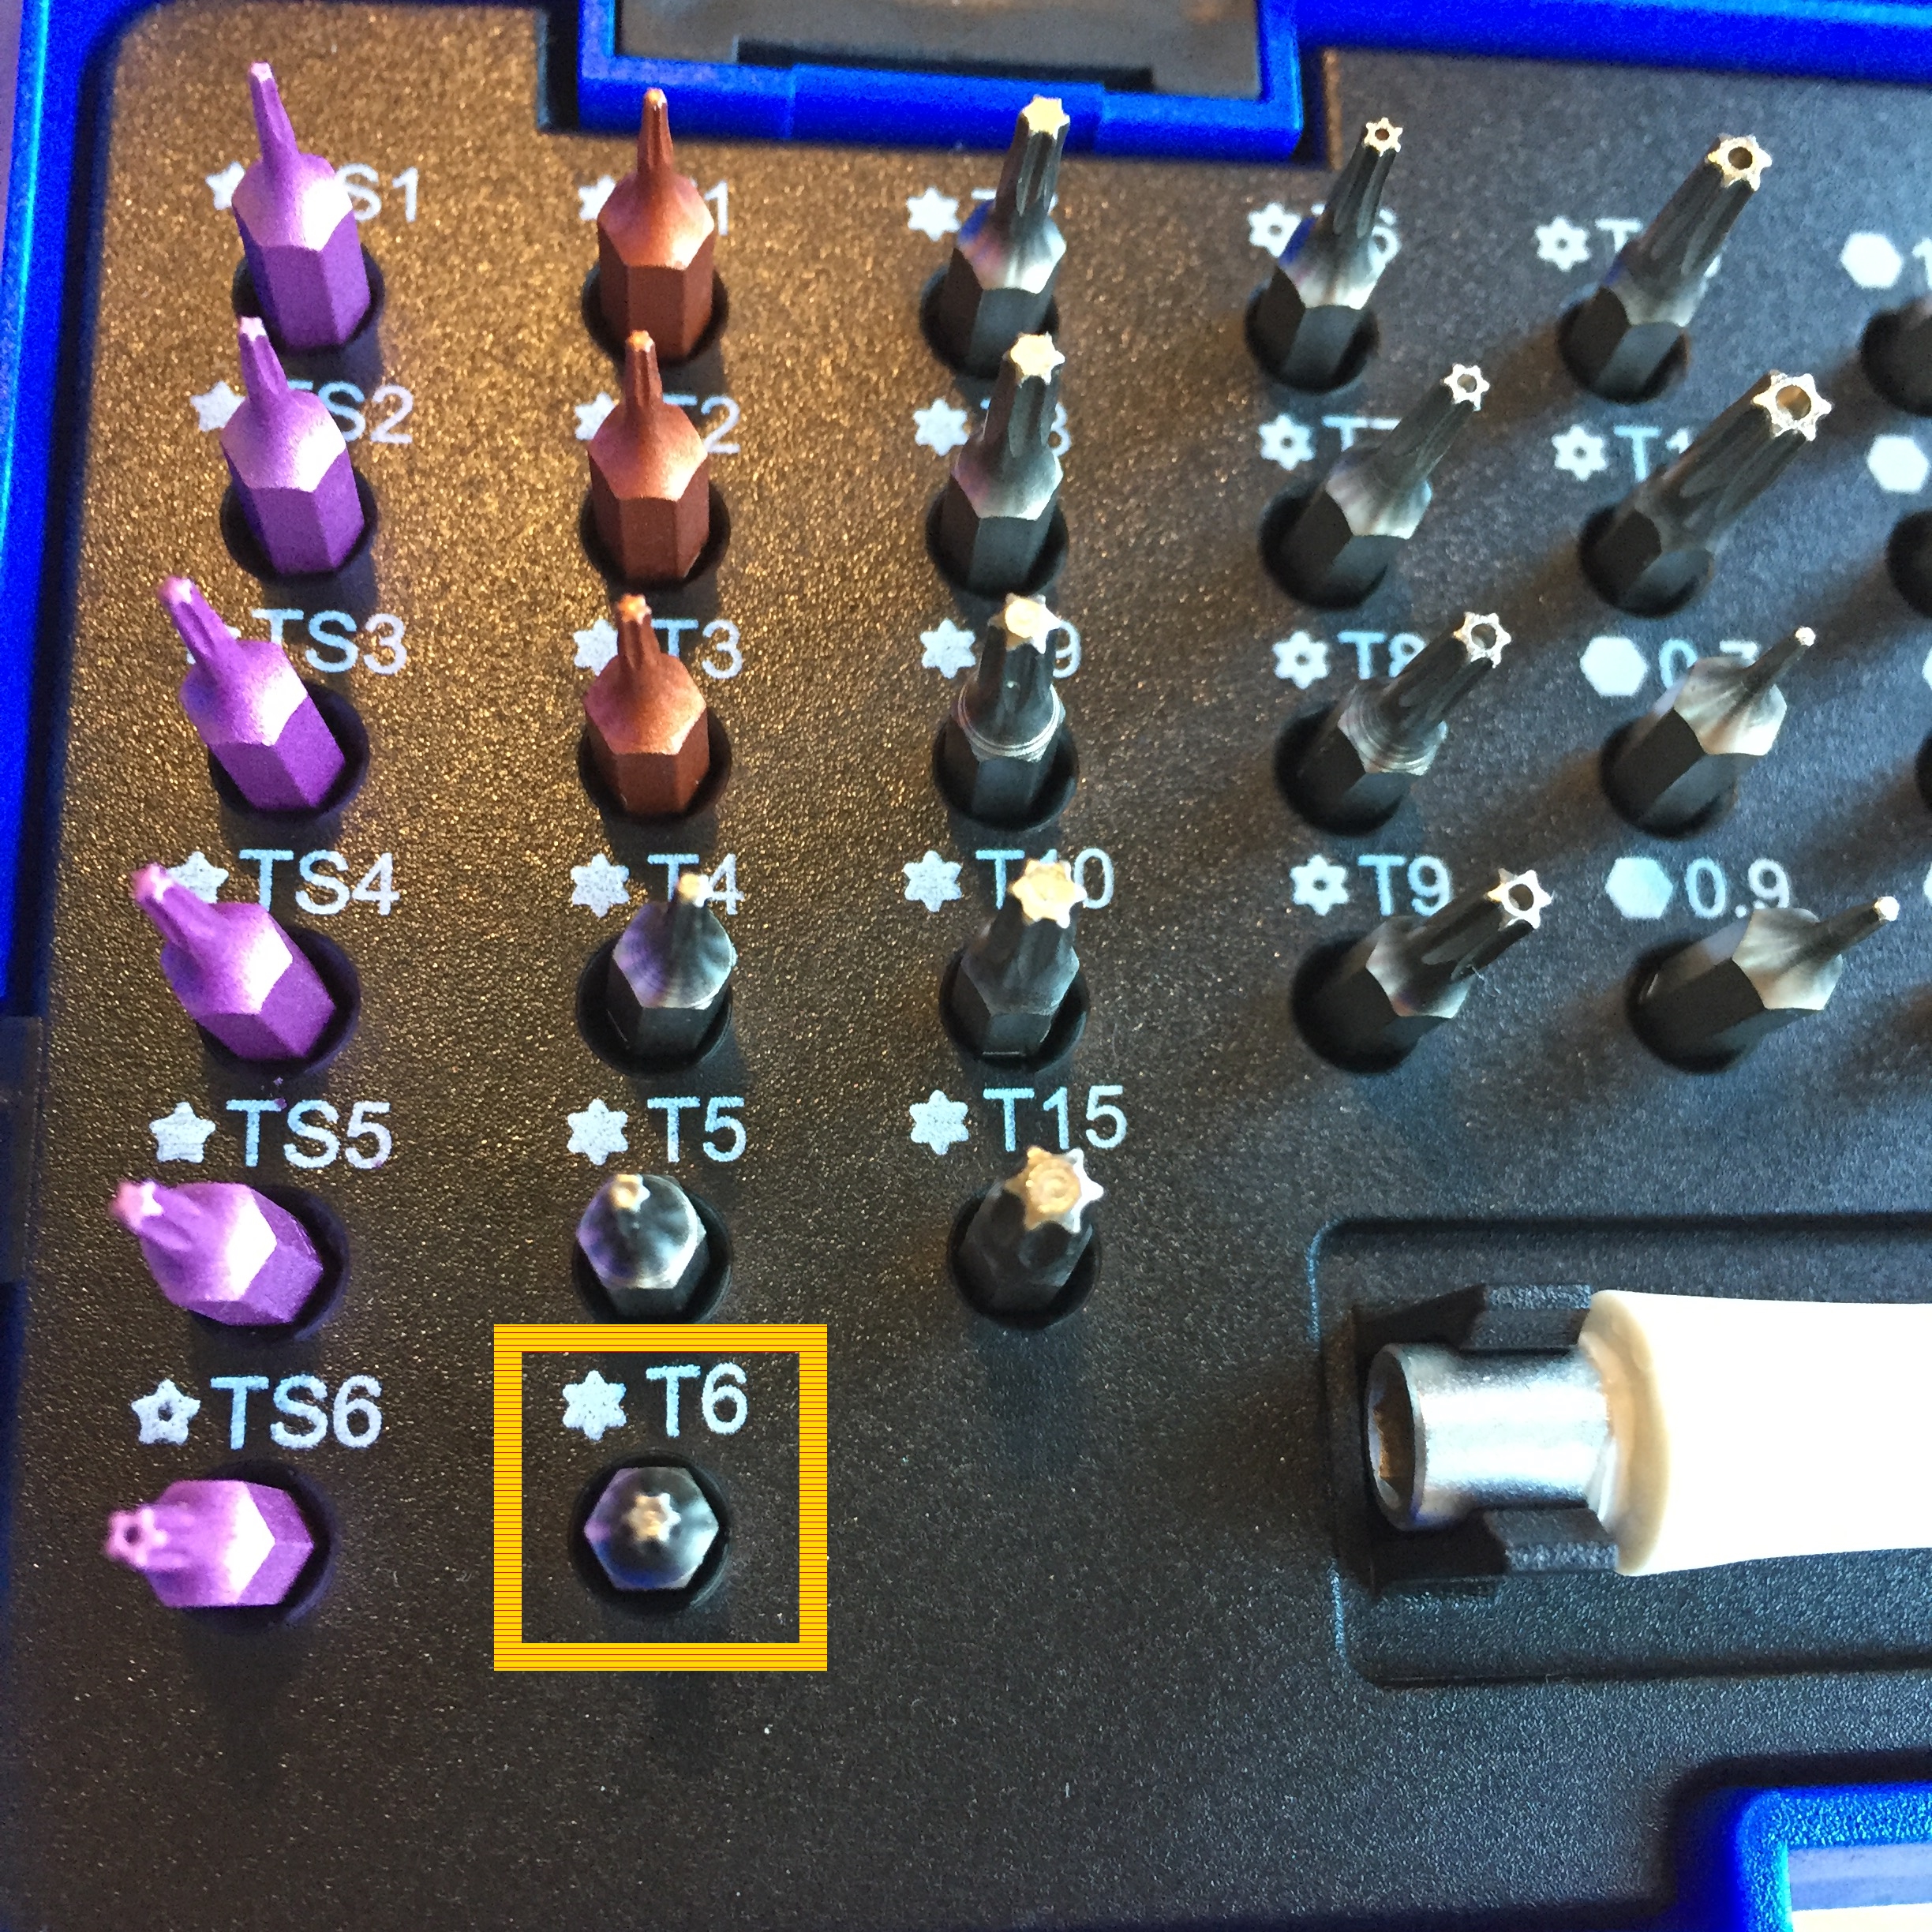
Torx (T6)
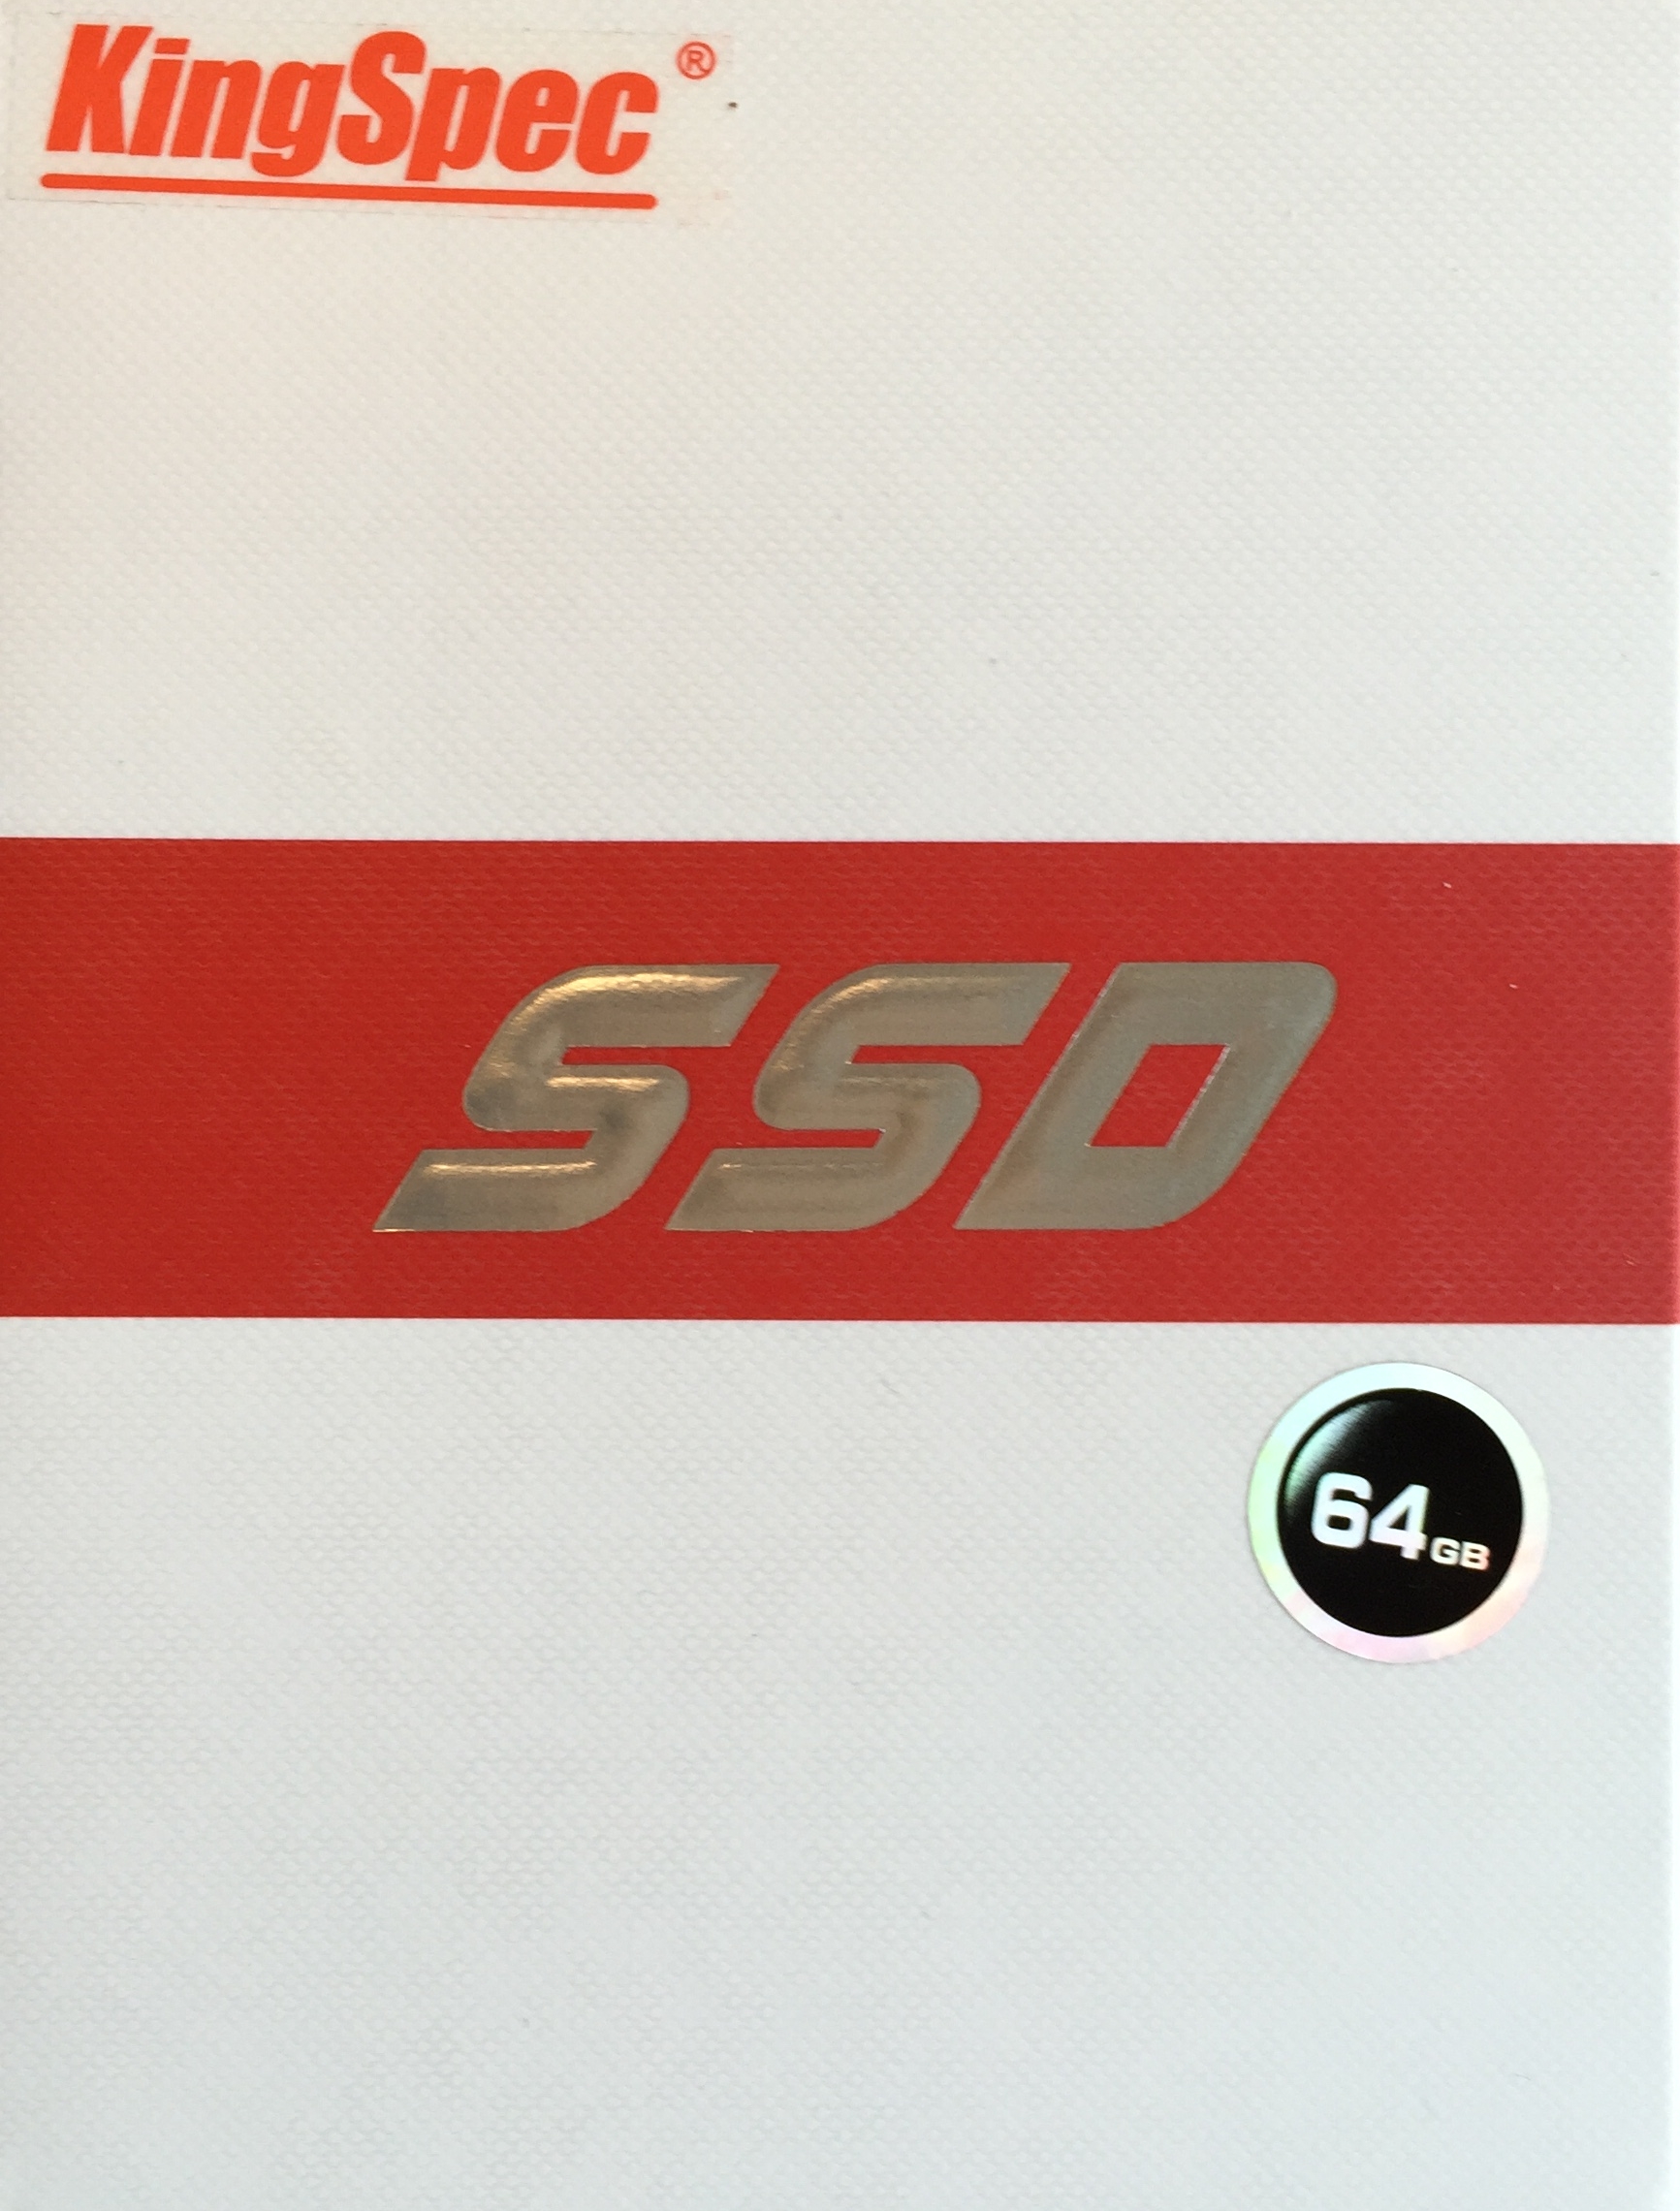
SSD package front

SSD package back
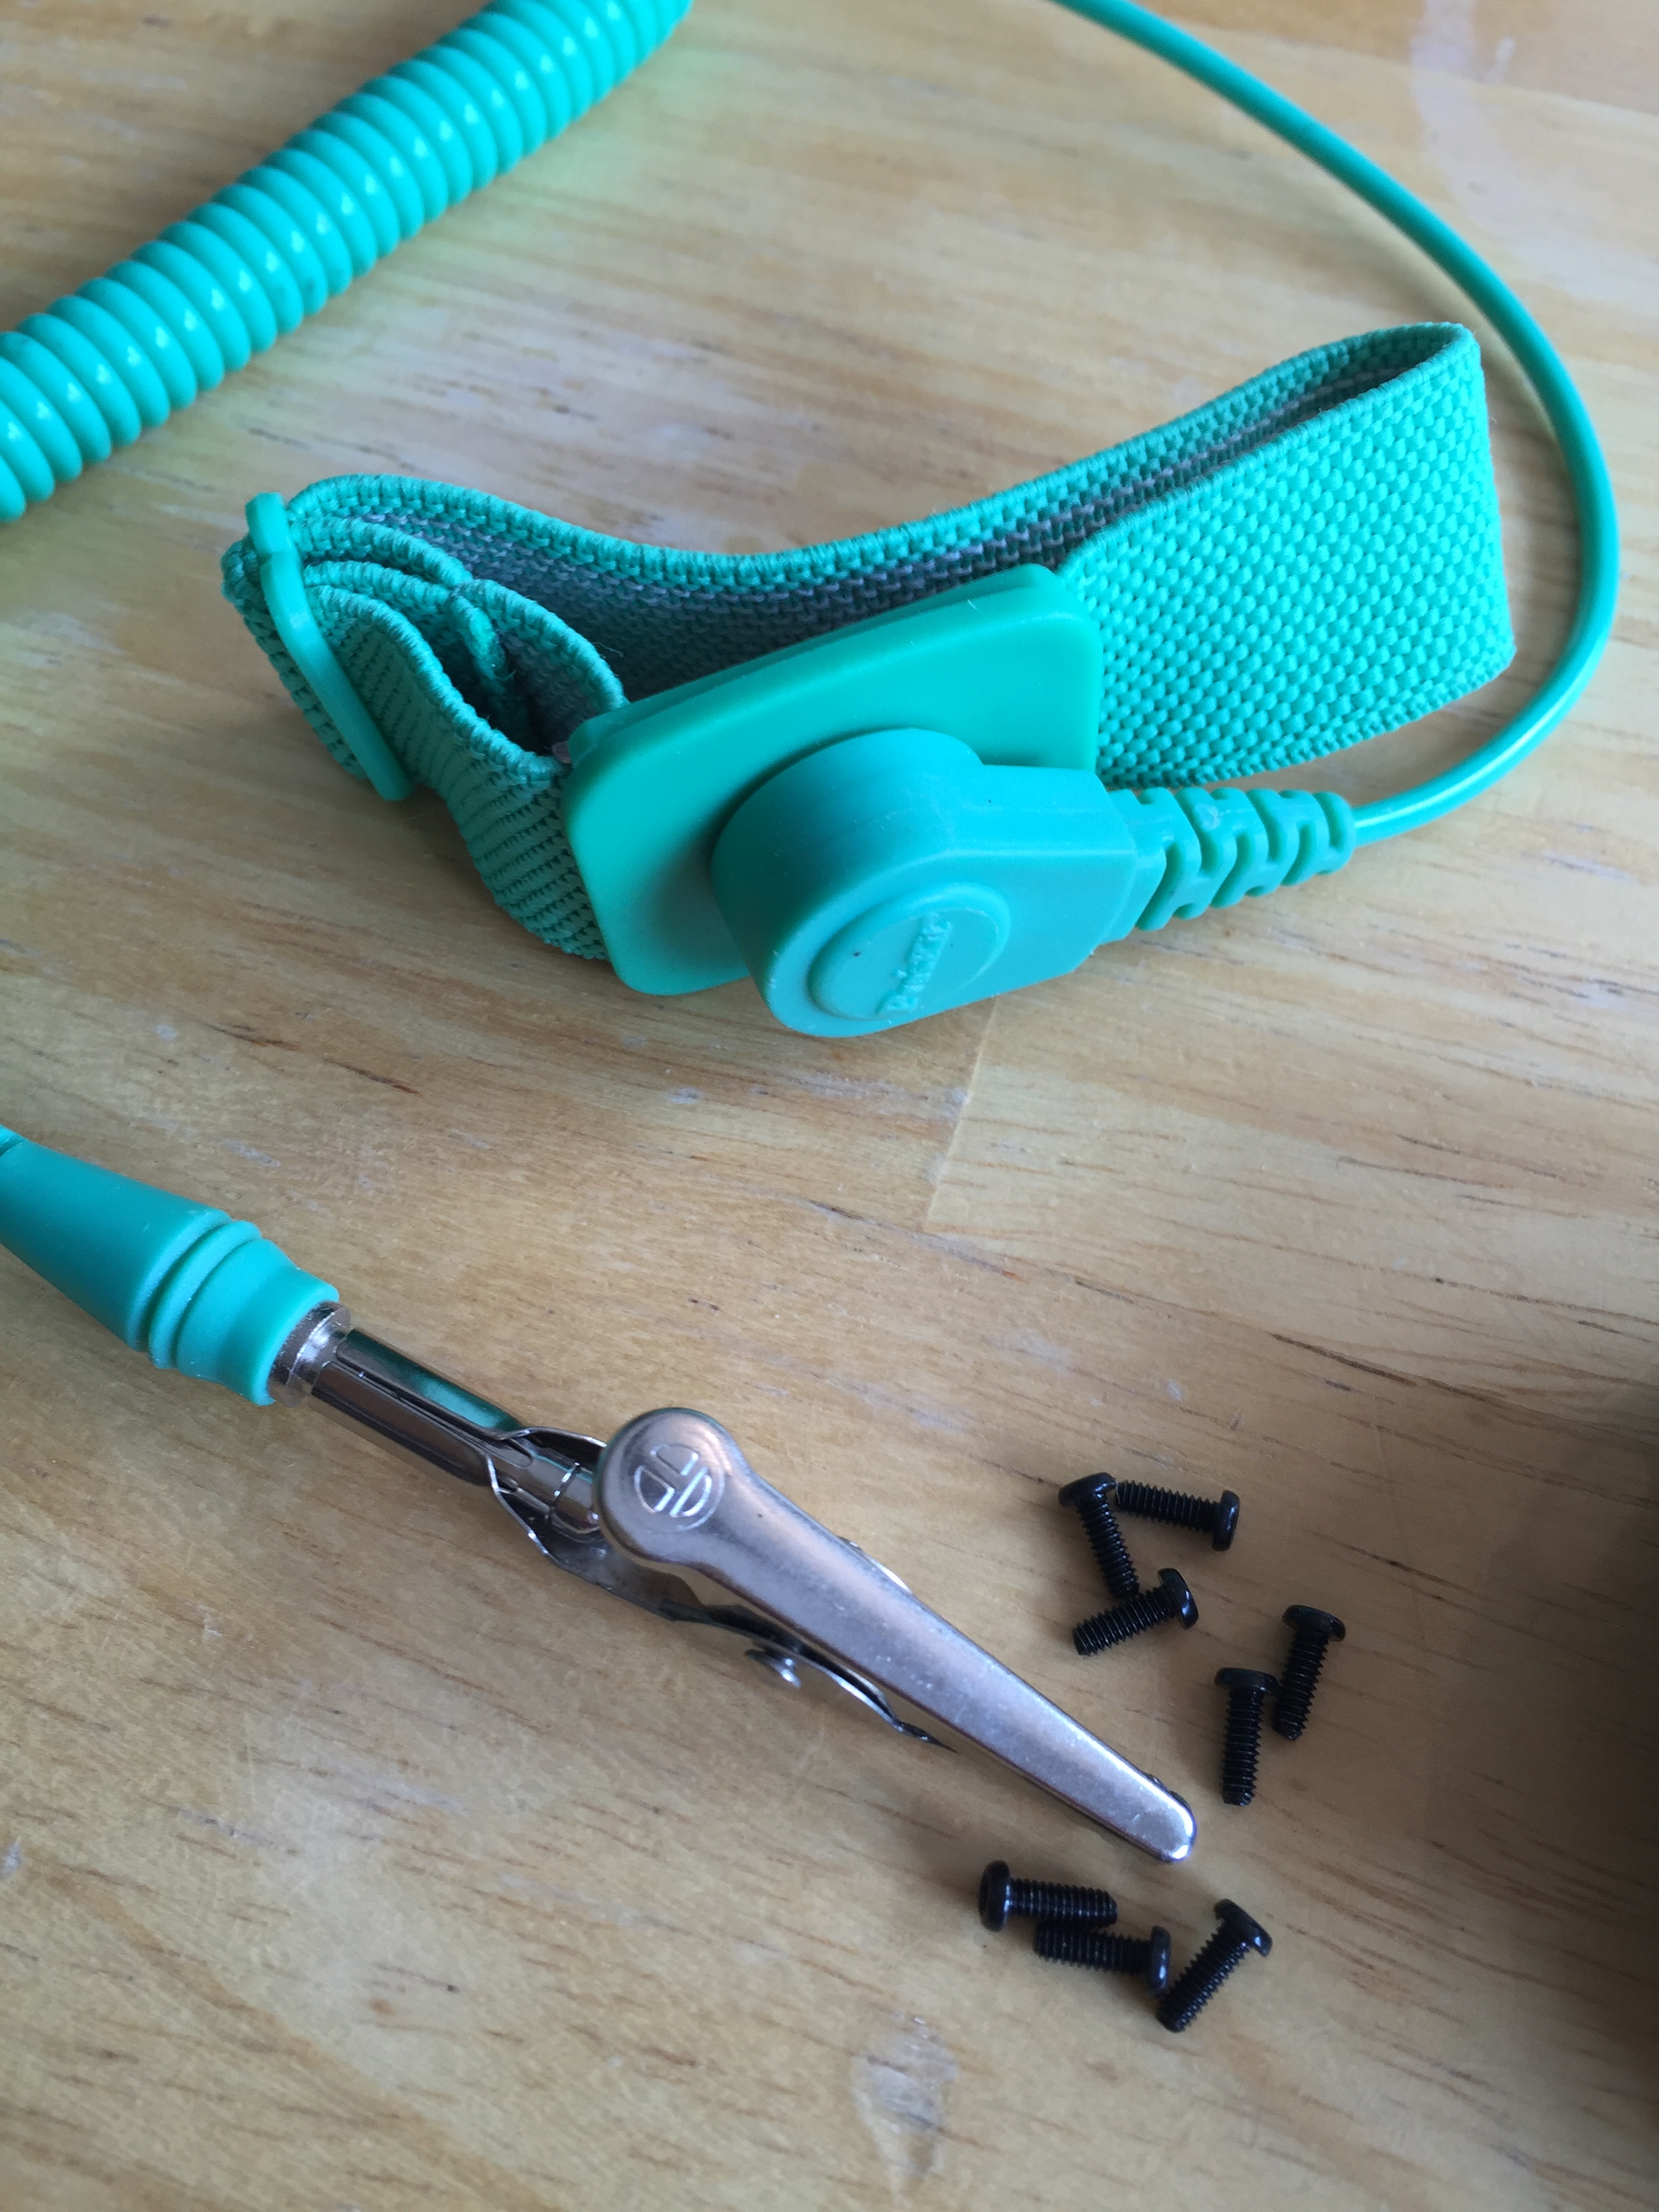
ESD bandPacemaker front & back

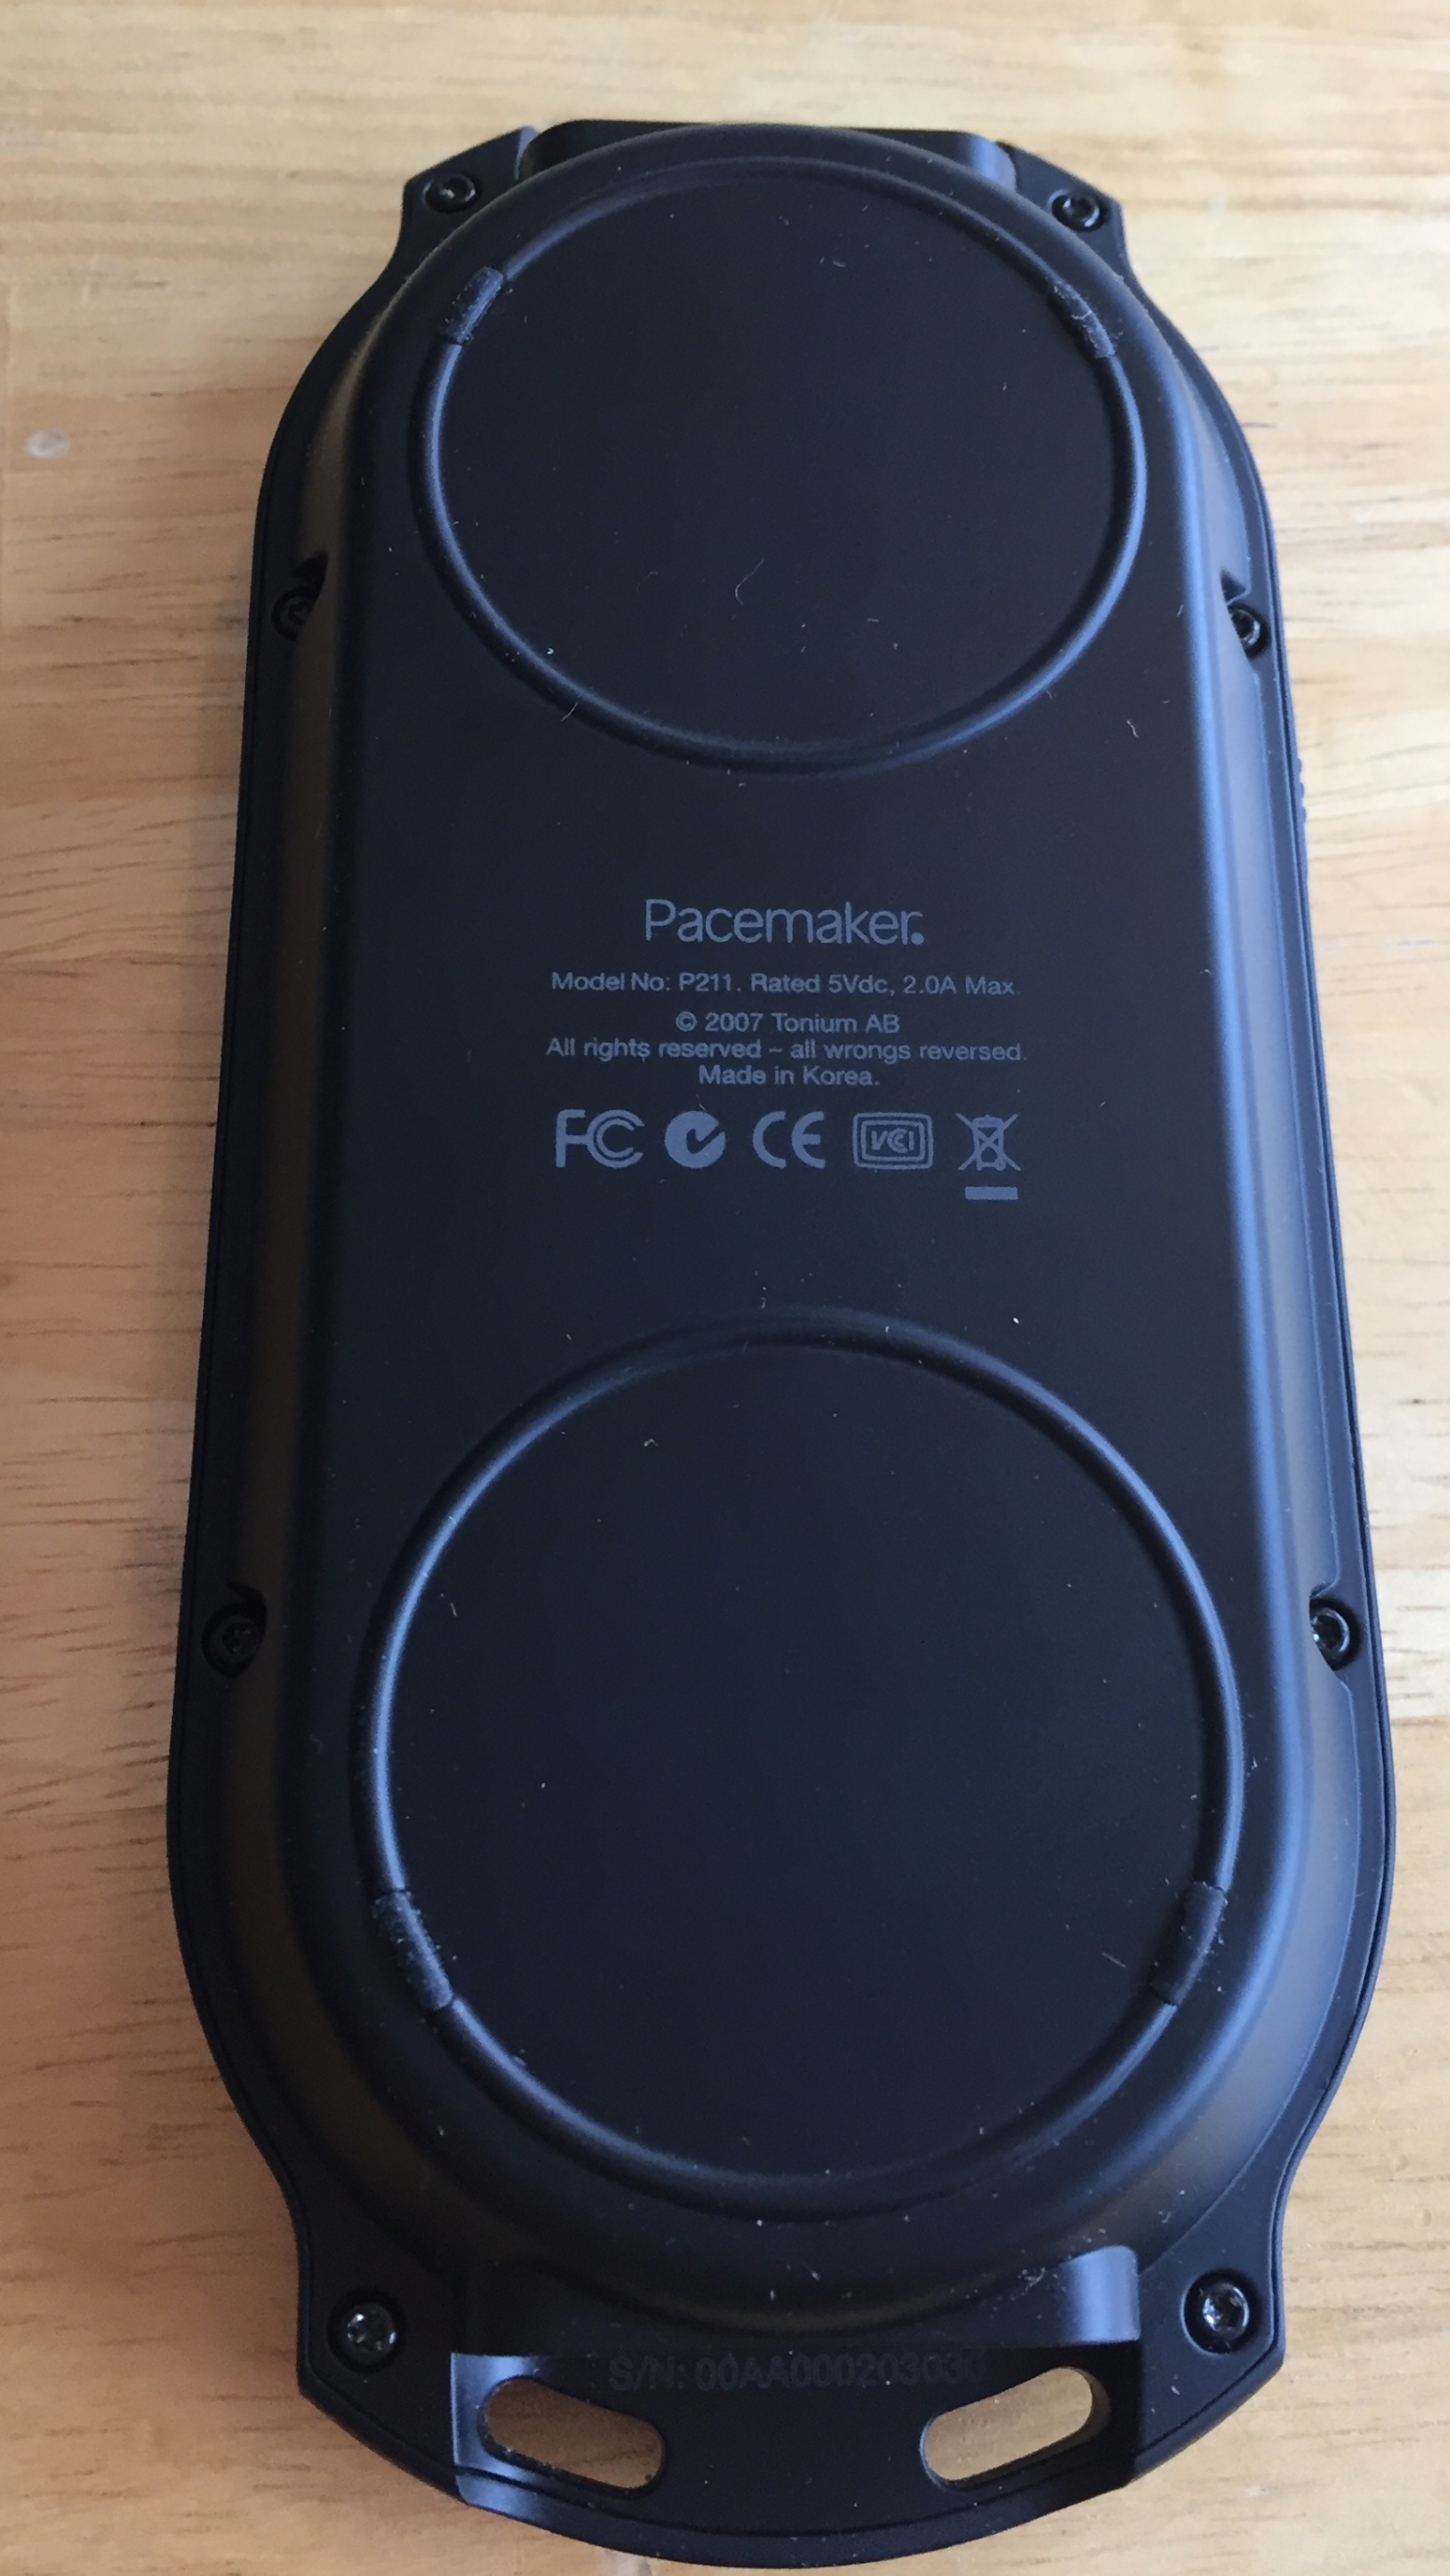
Pacemaker front & back
Chapter 2 – Hardware installation
Open up the case with the strewdriver (T6 torx).
Unscrew the six screws with your Torx (T6) screwdriver and lift off the back side straight up (since there are connectors both at the top and end of the device).
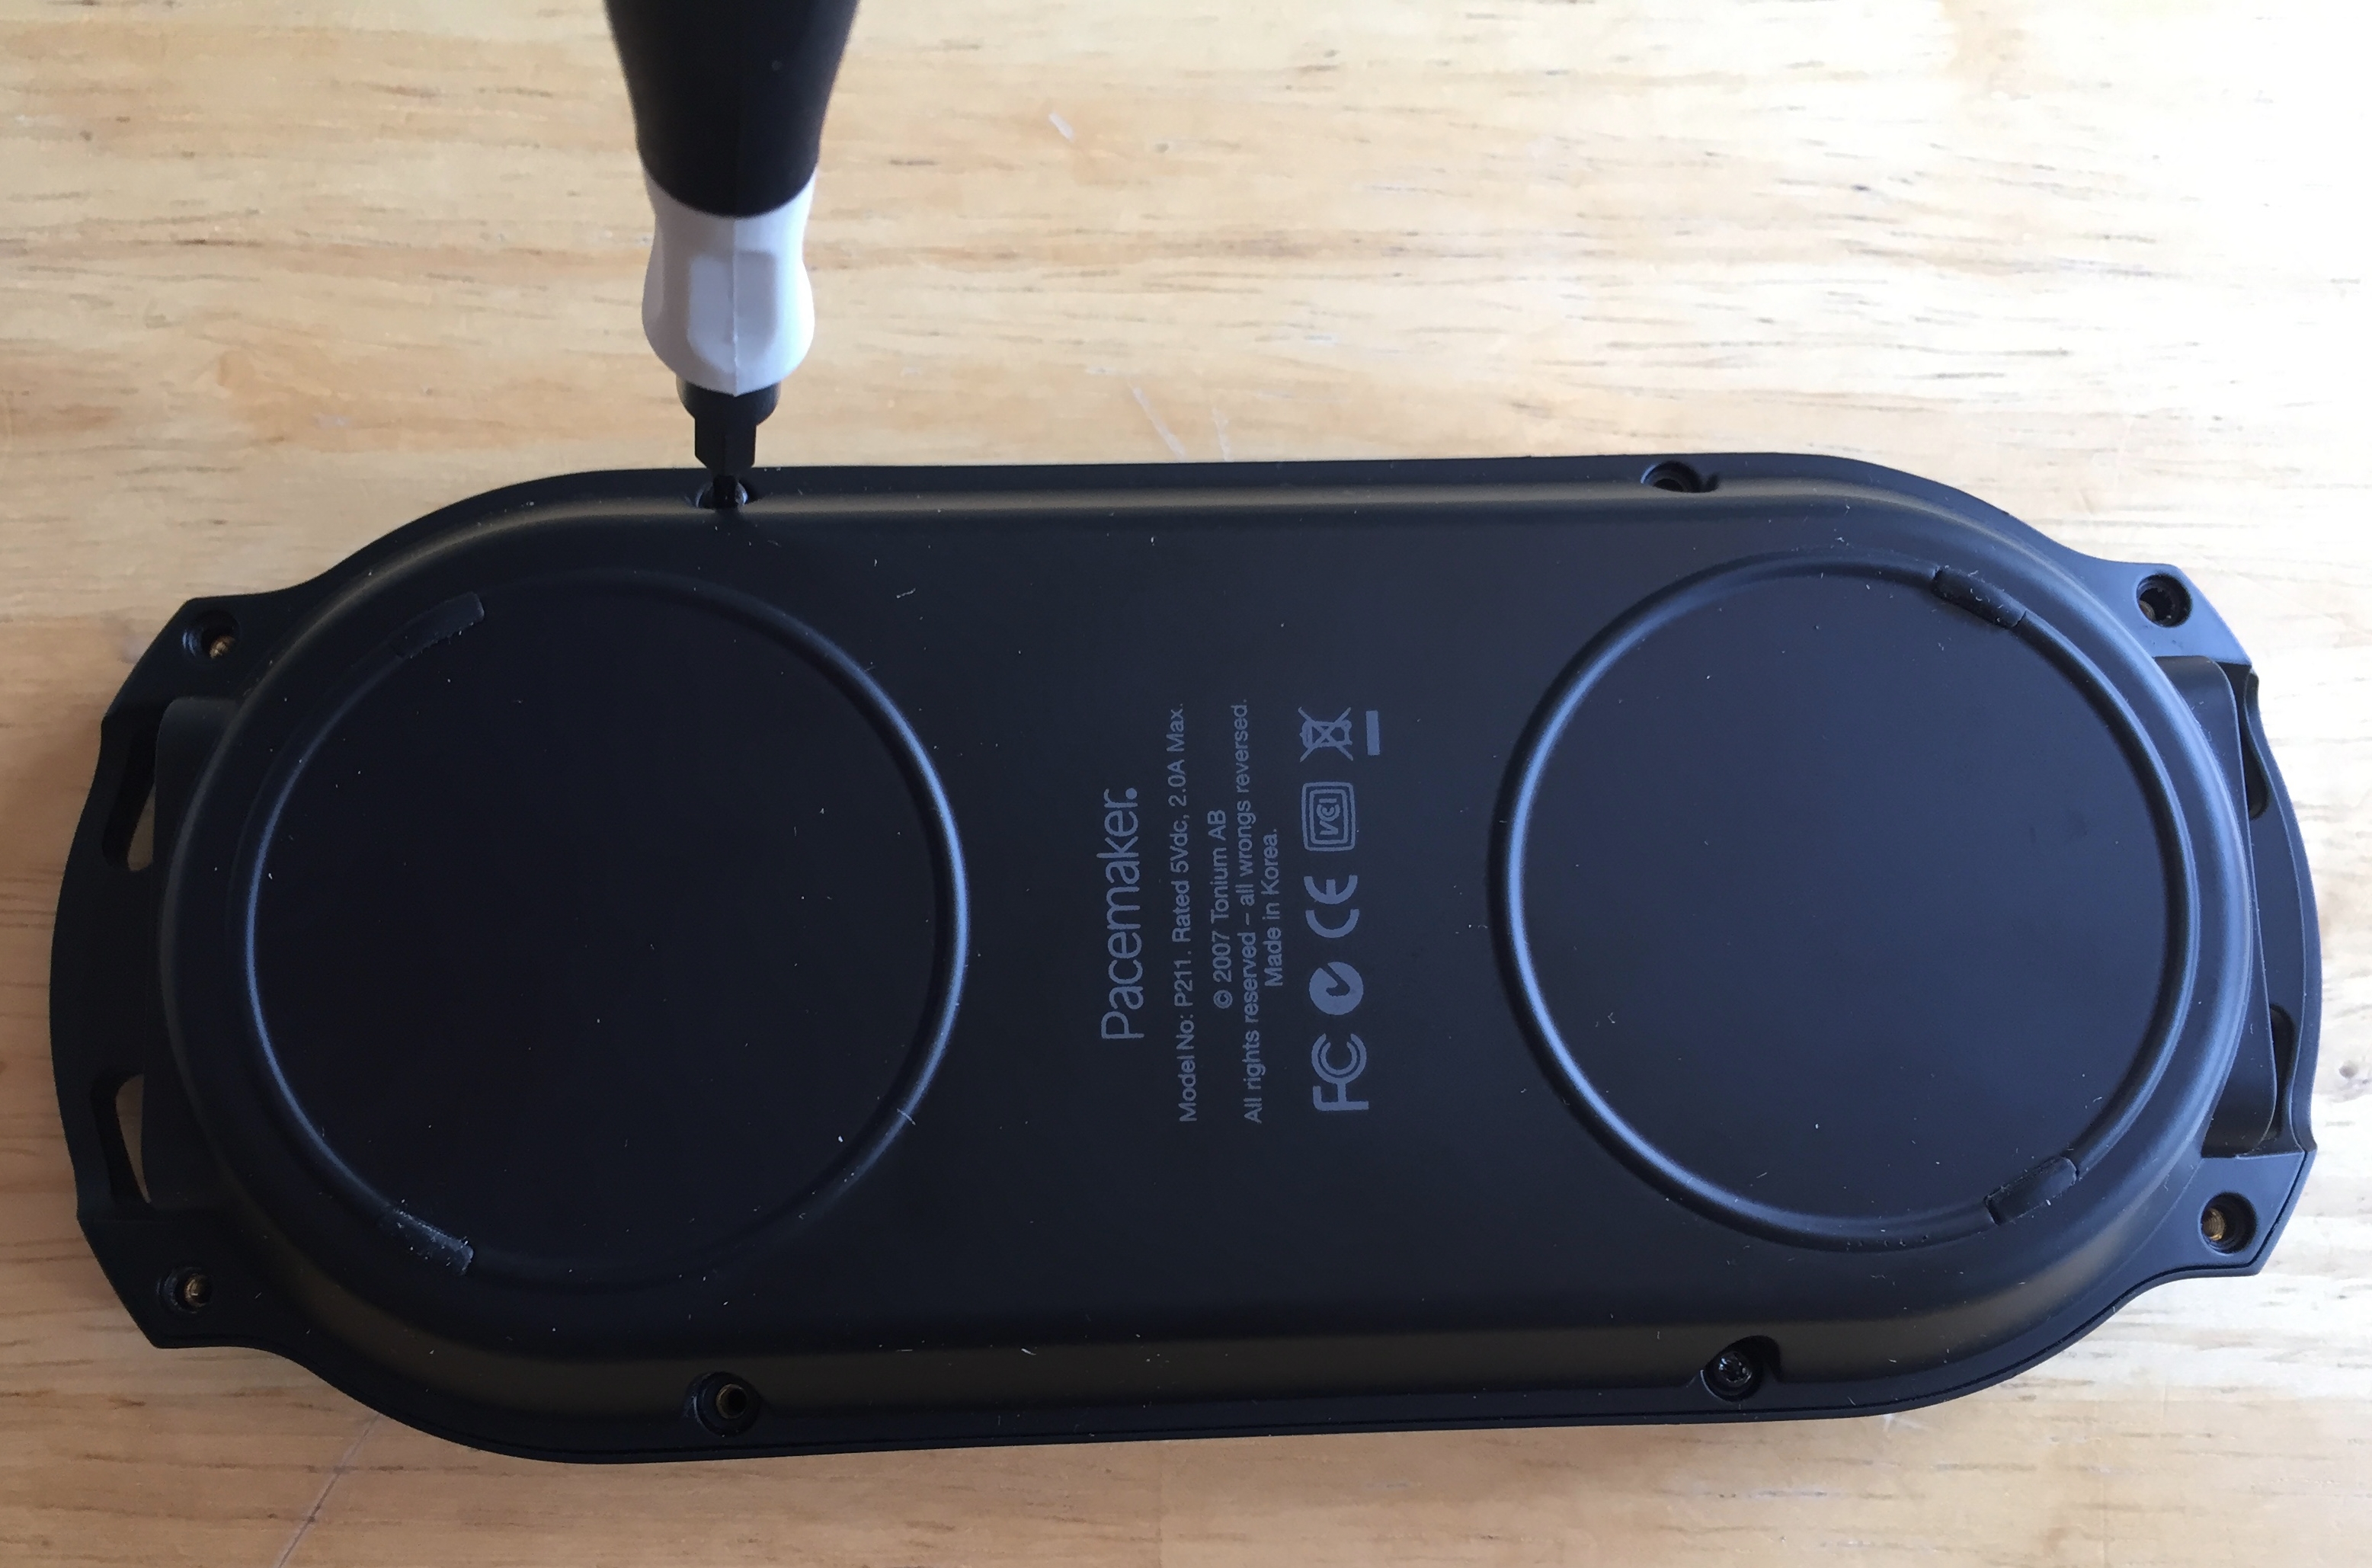
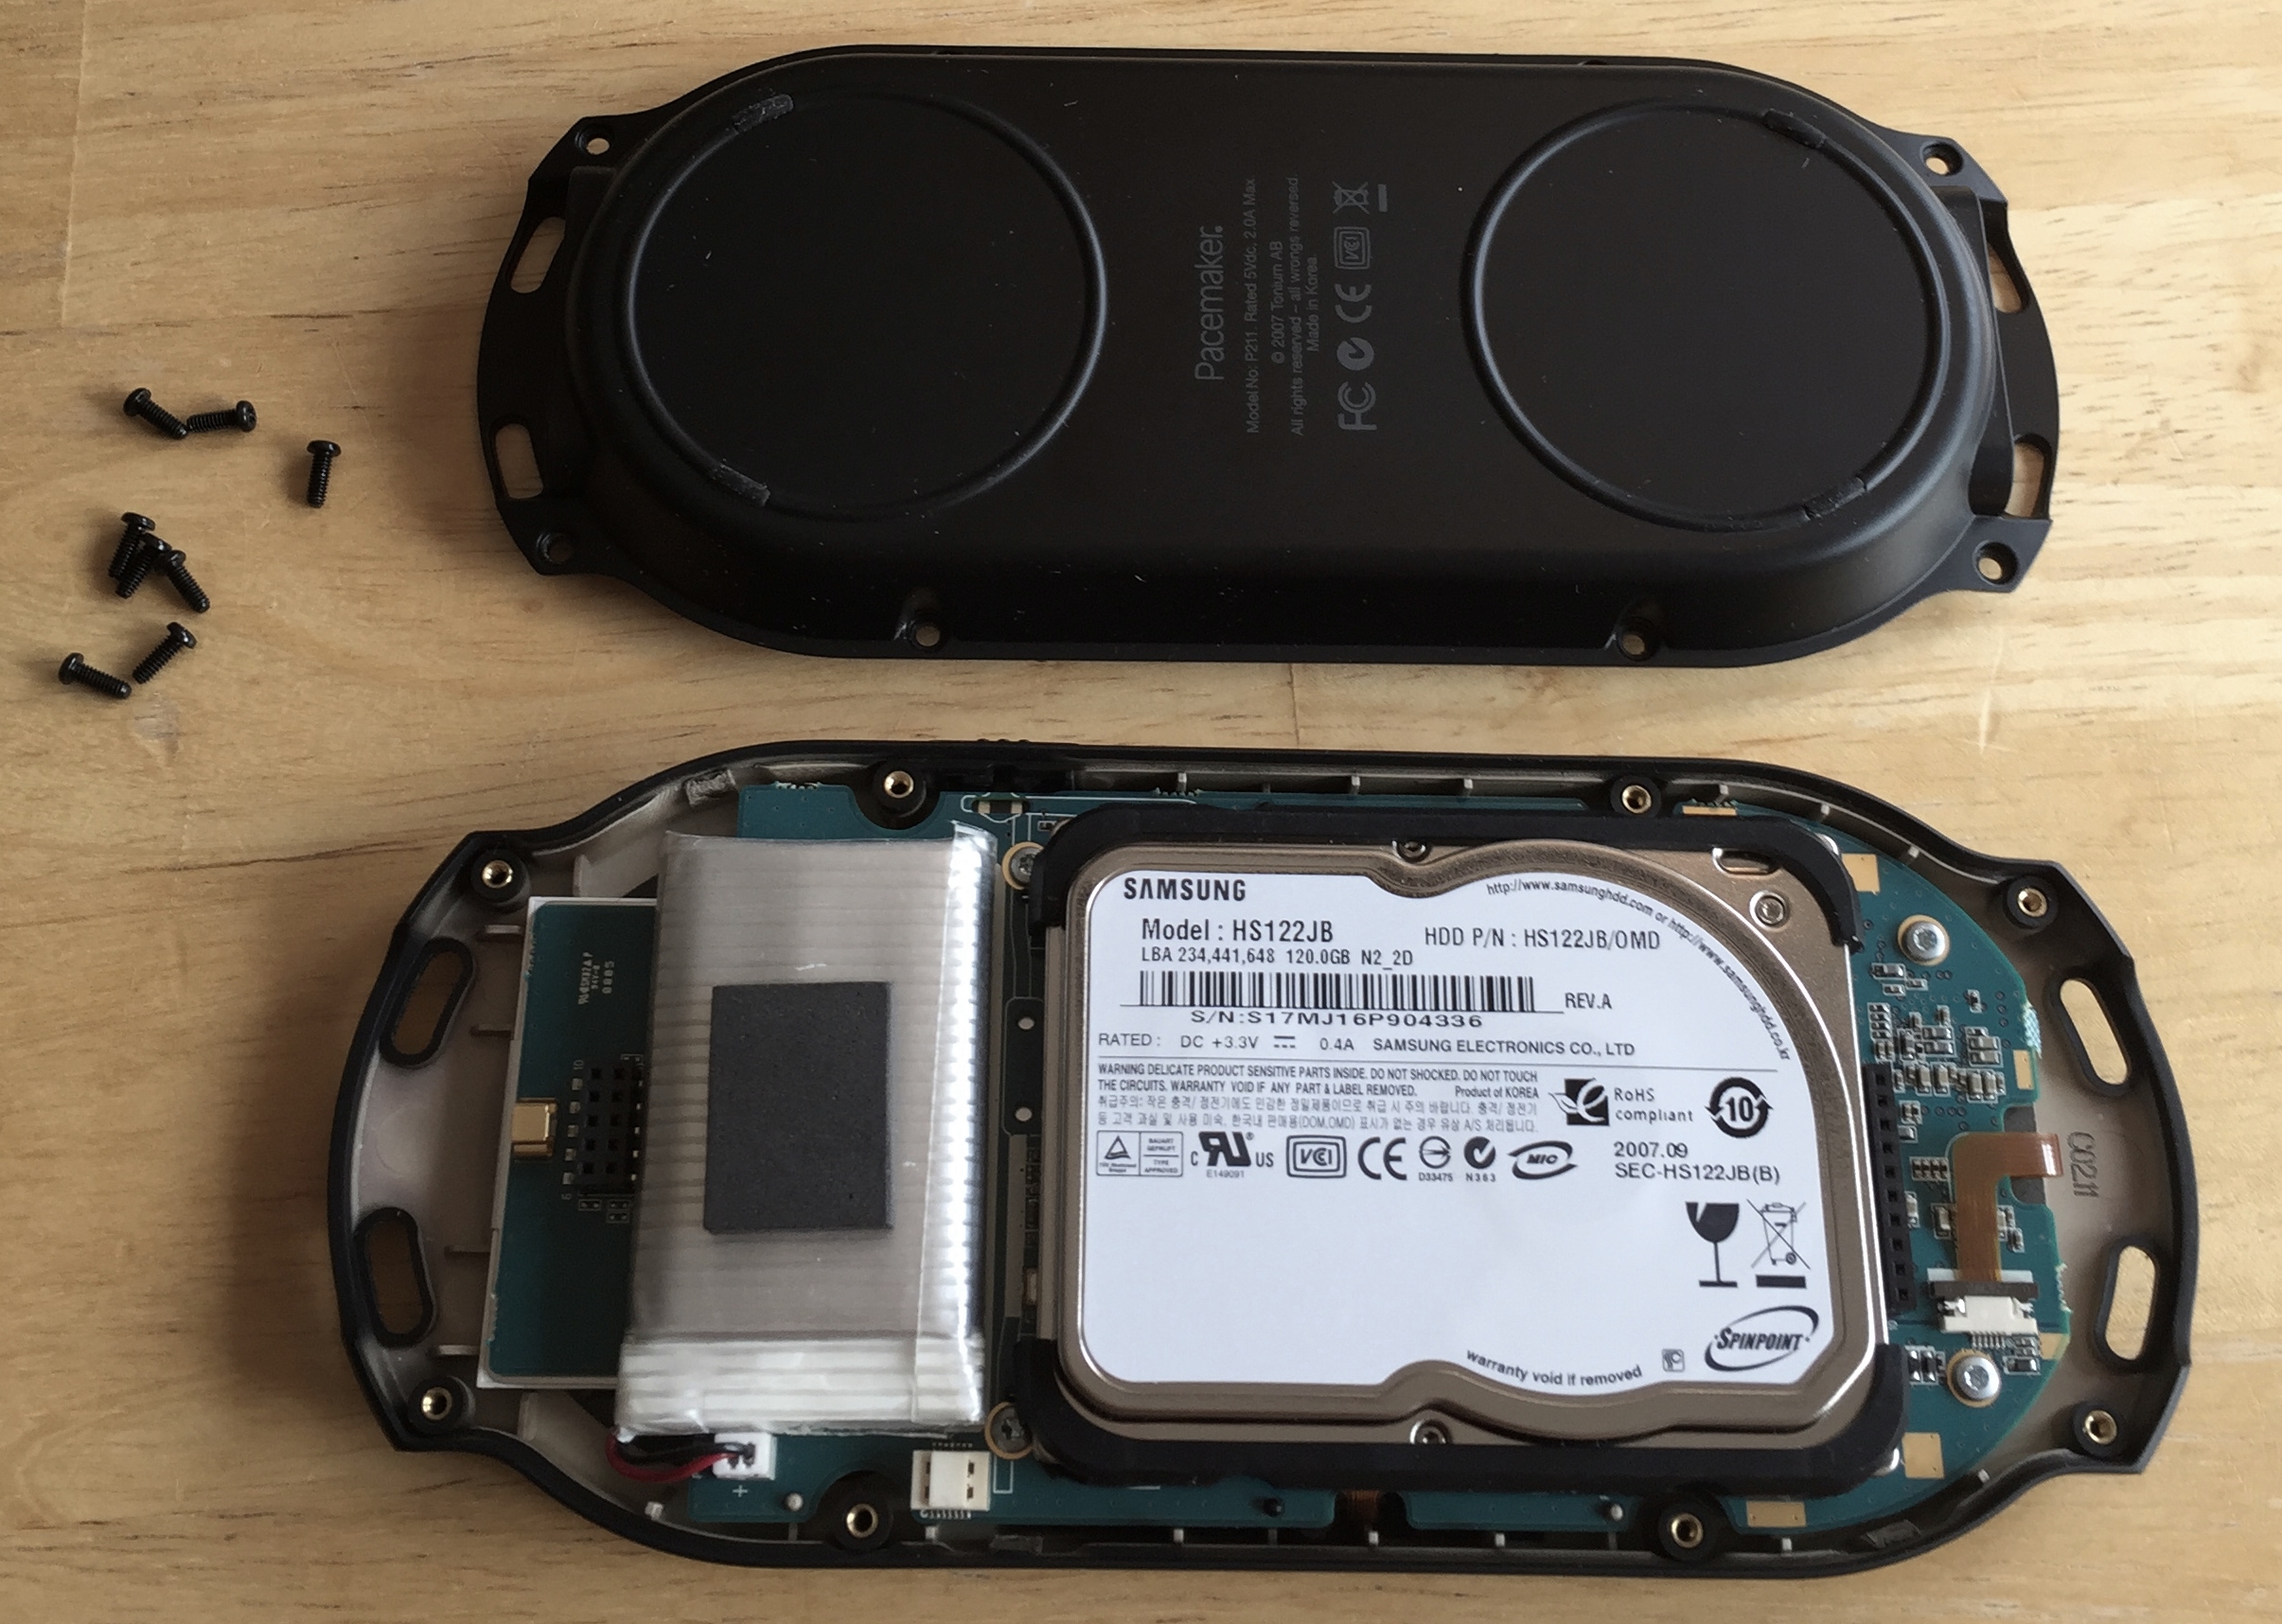
Back case open
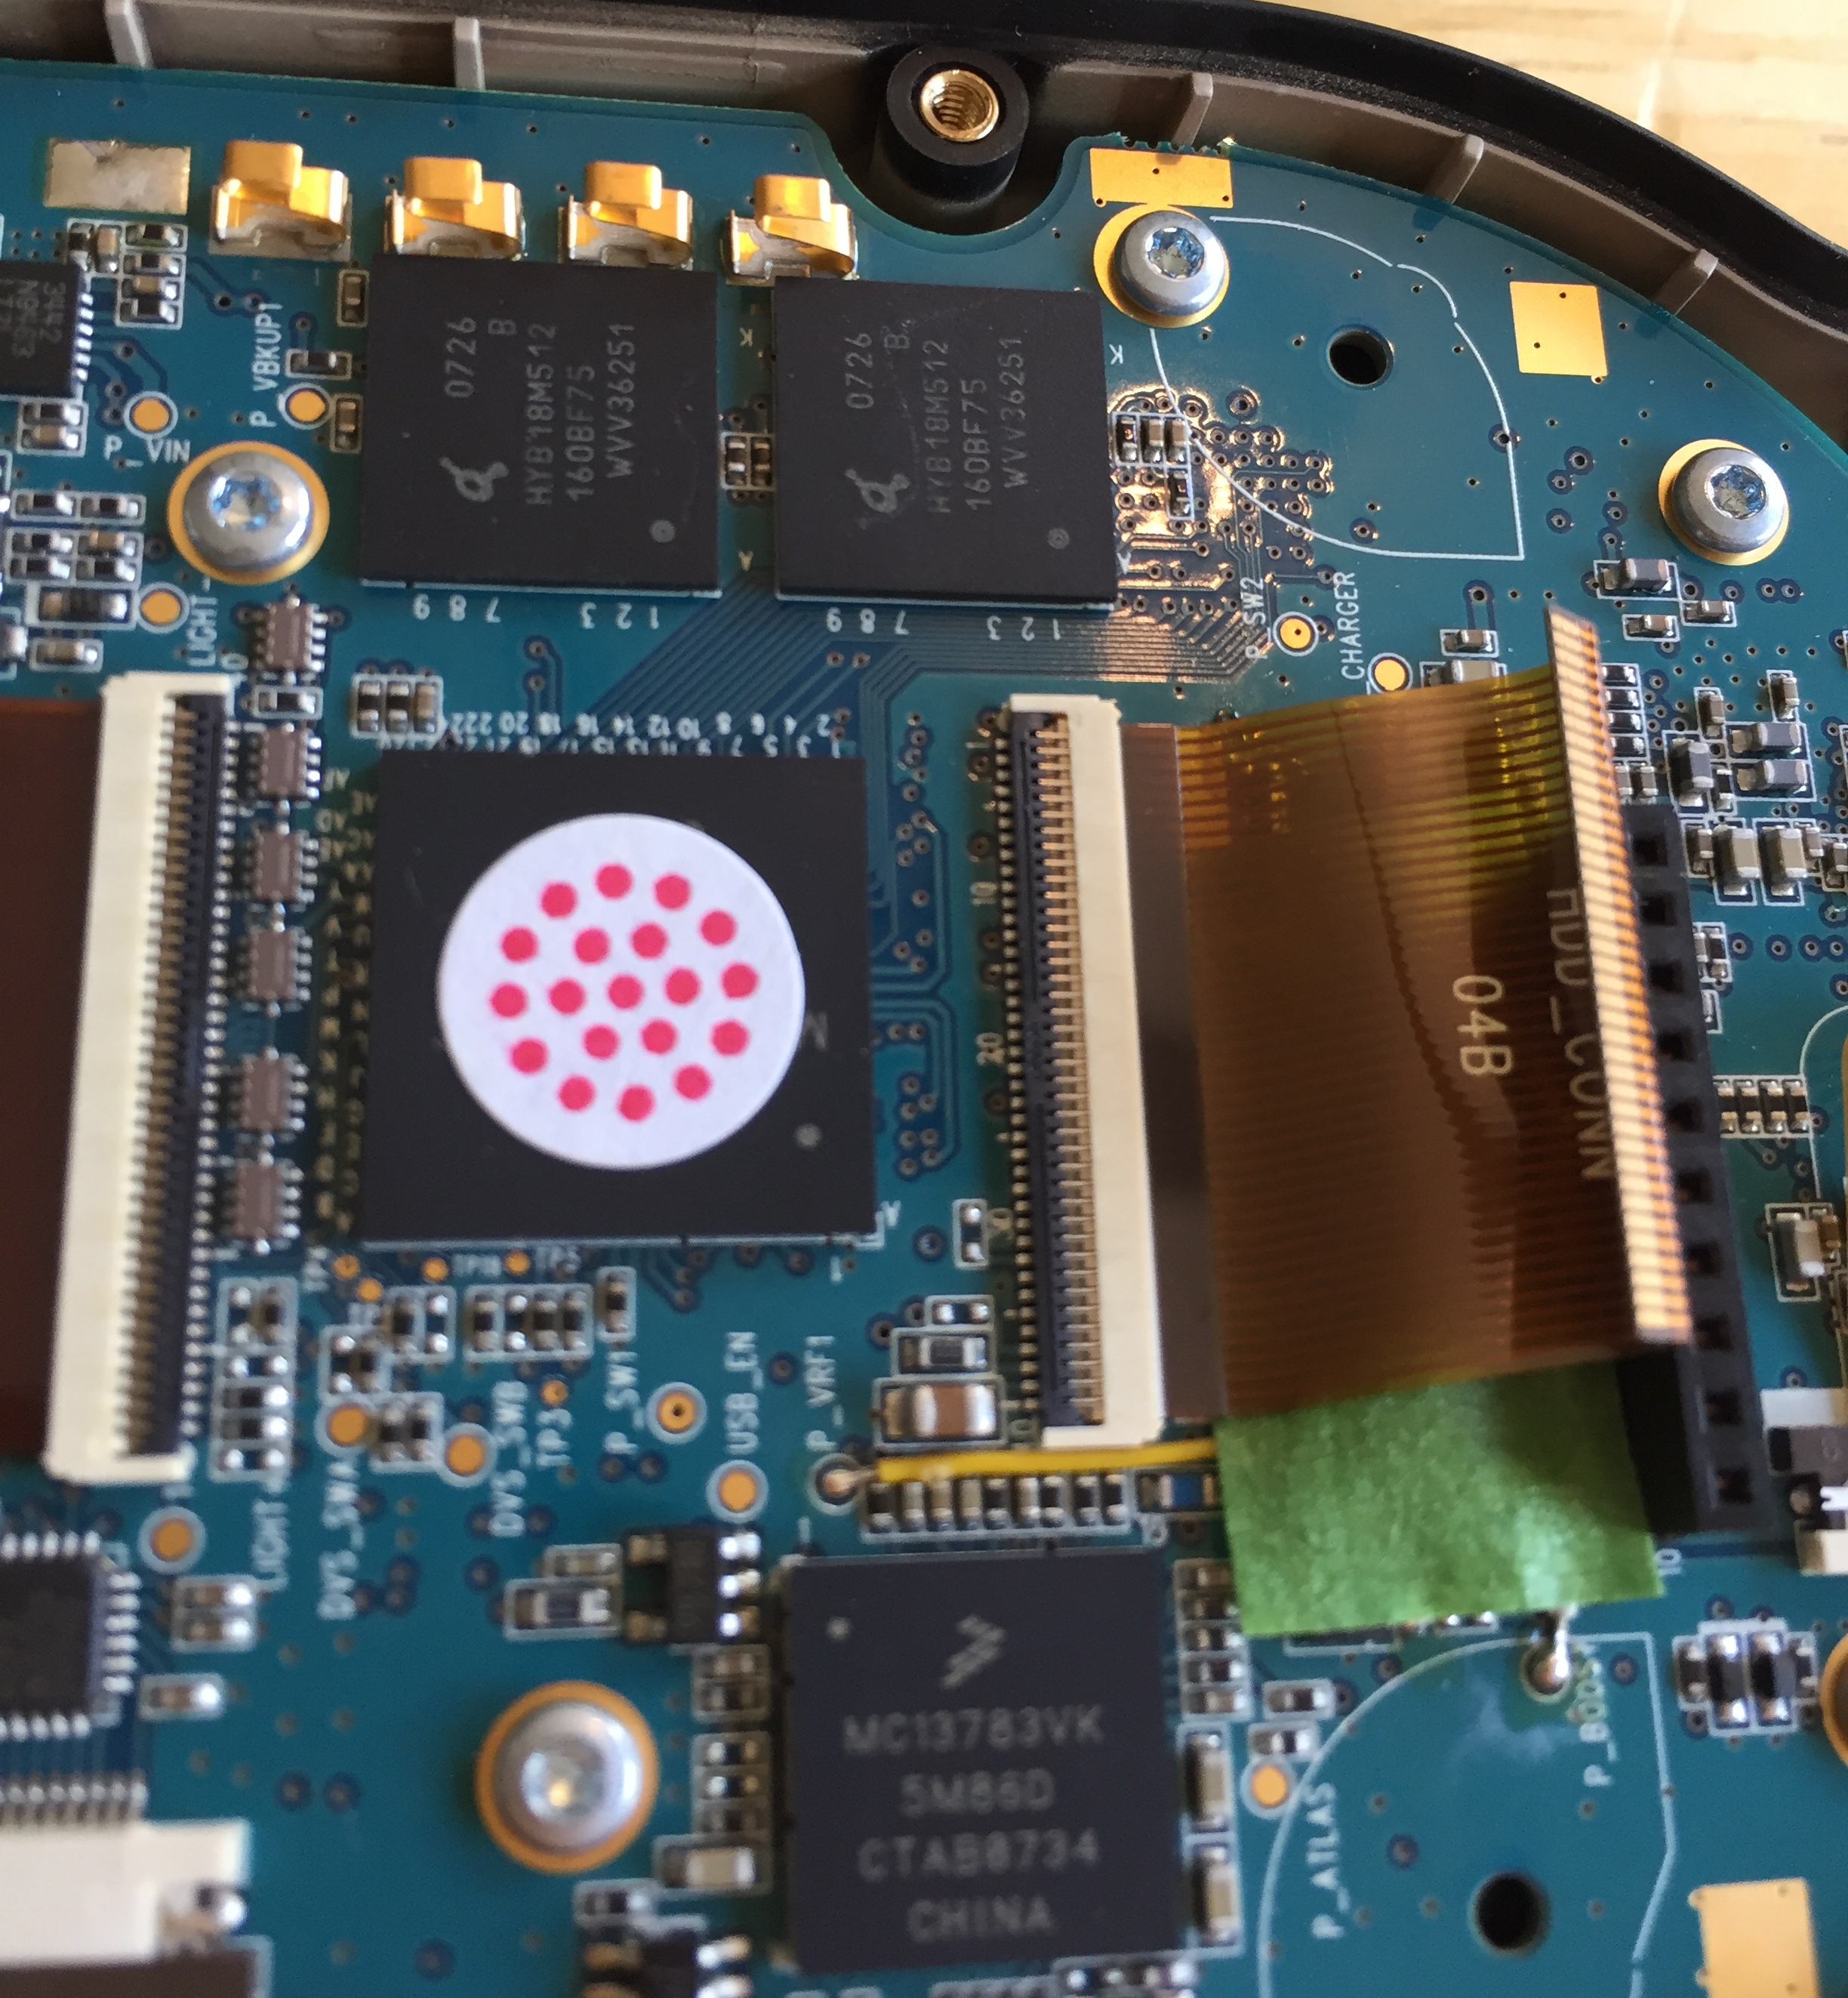
Locate the ZIF cable. And remeber to be careful with it so it does not break. Seems hard to get another in the right (short) length.

Remove the shock protection case.
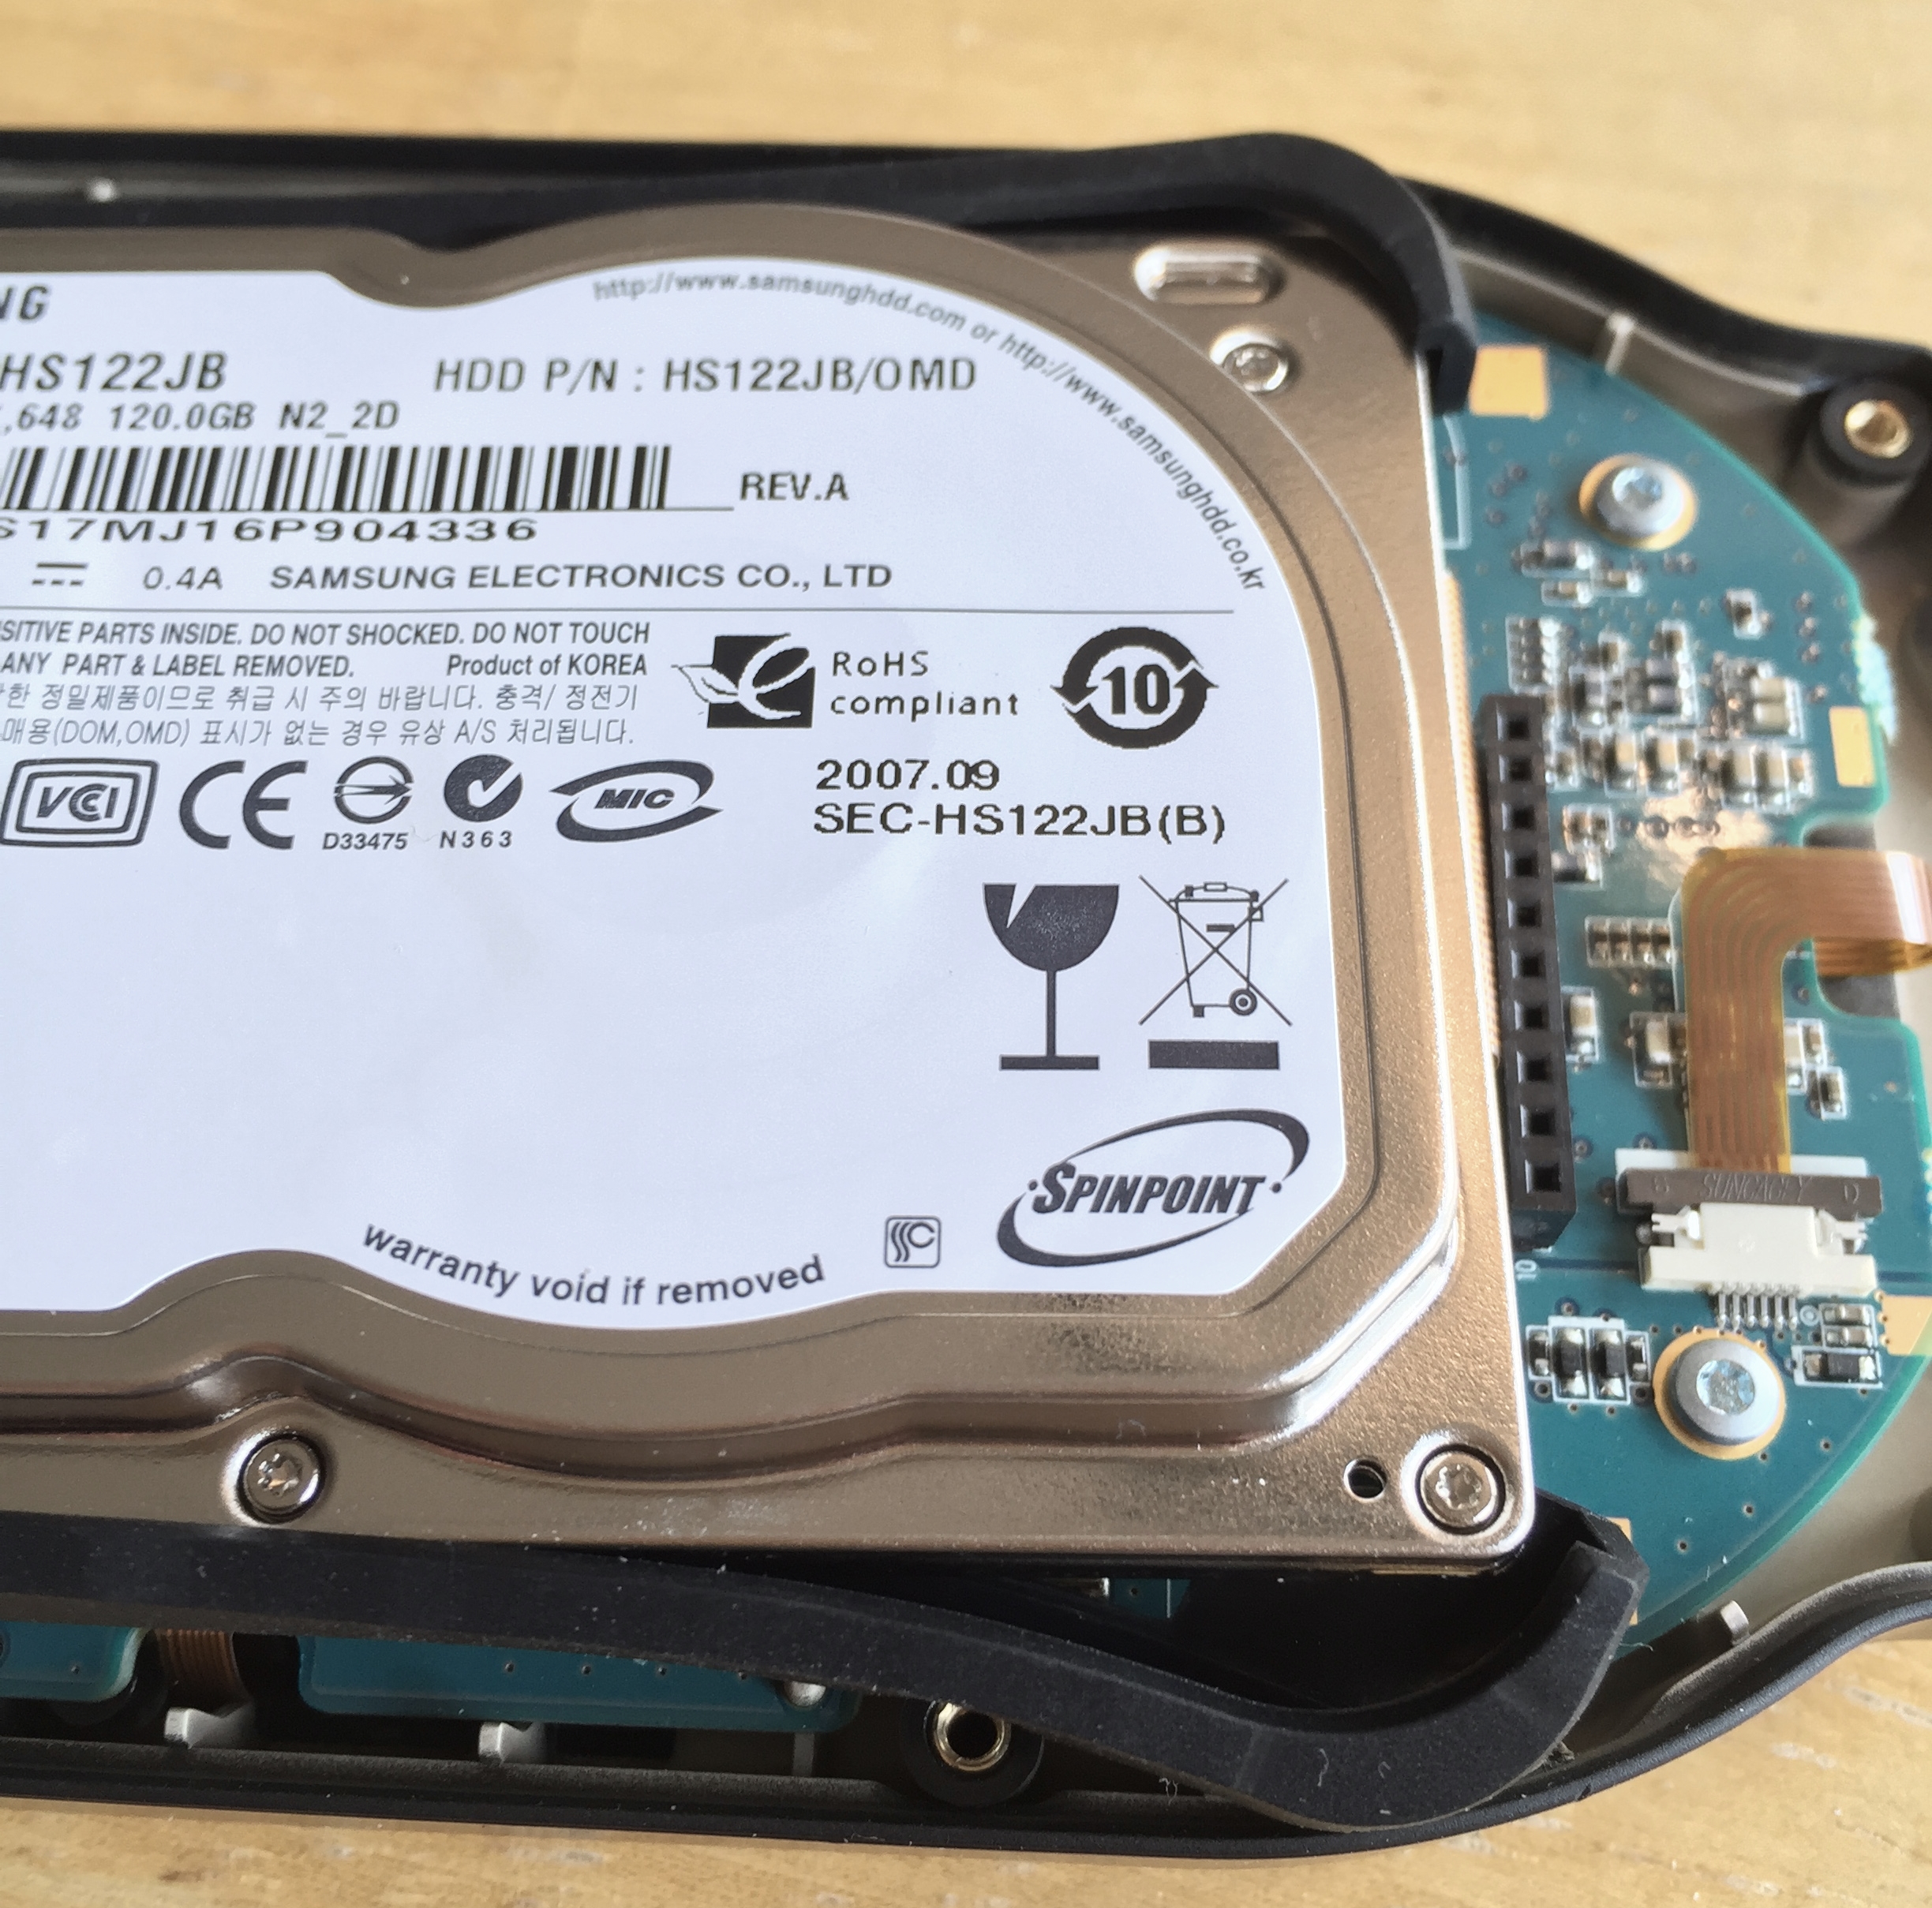
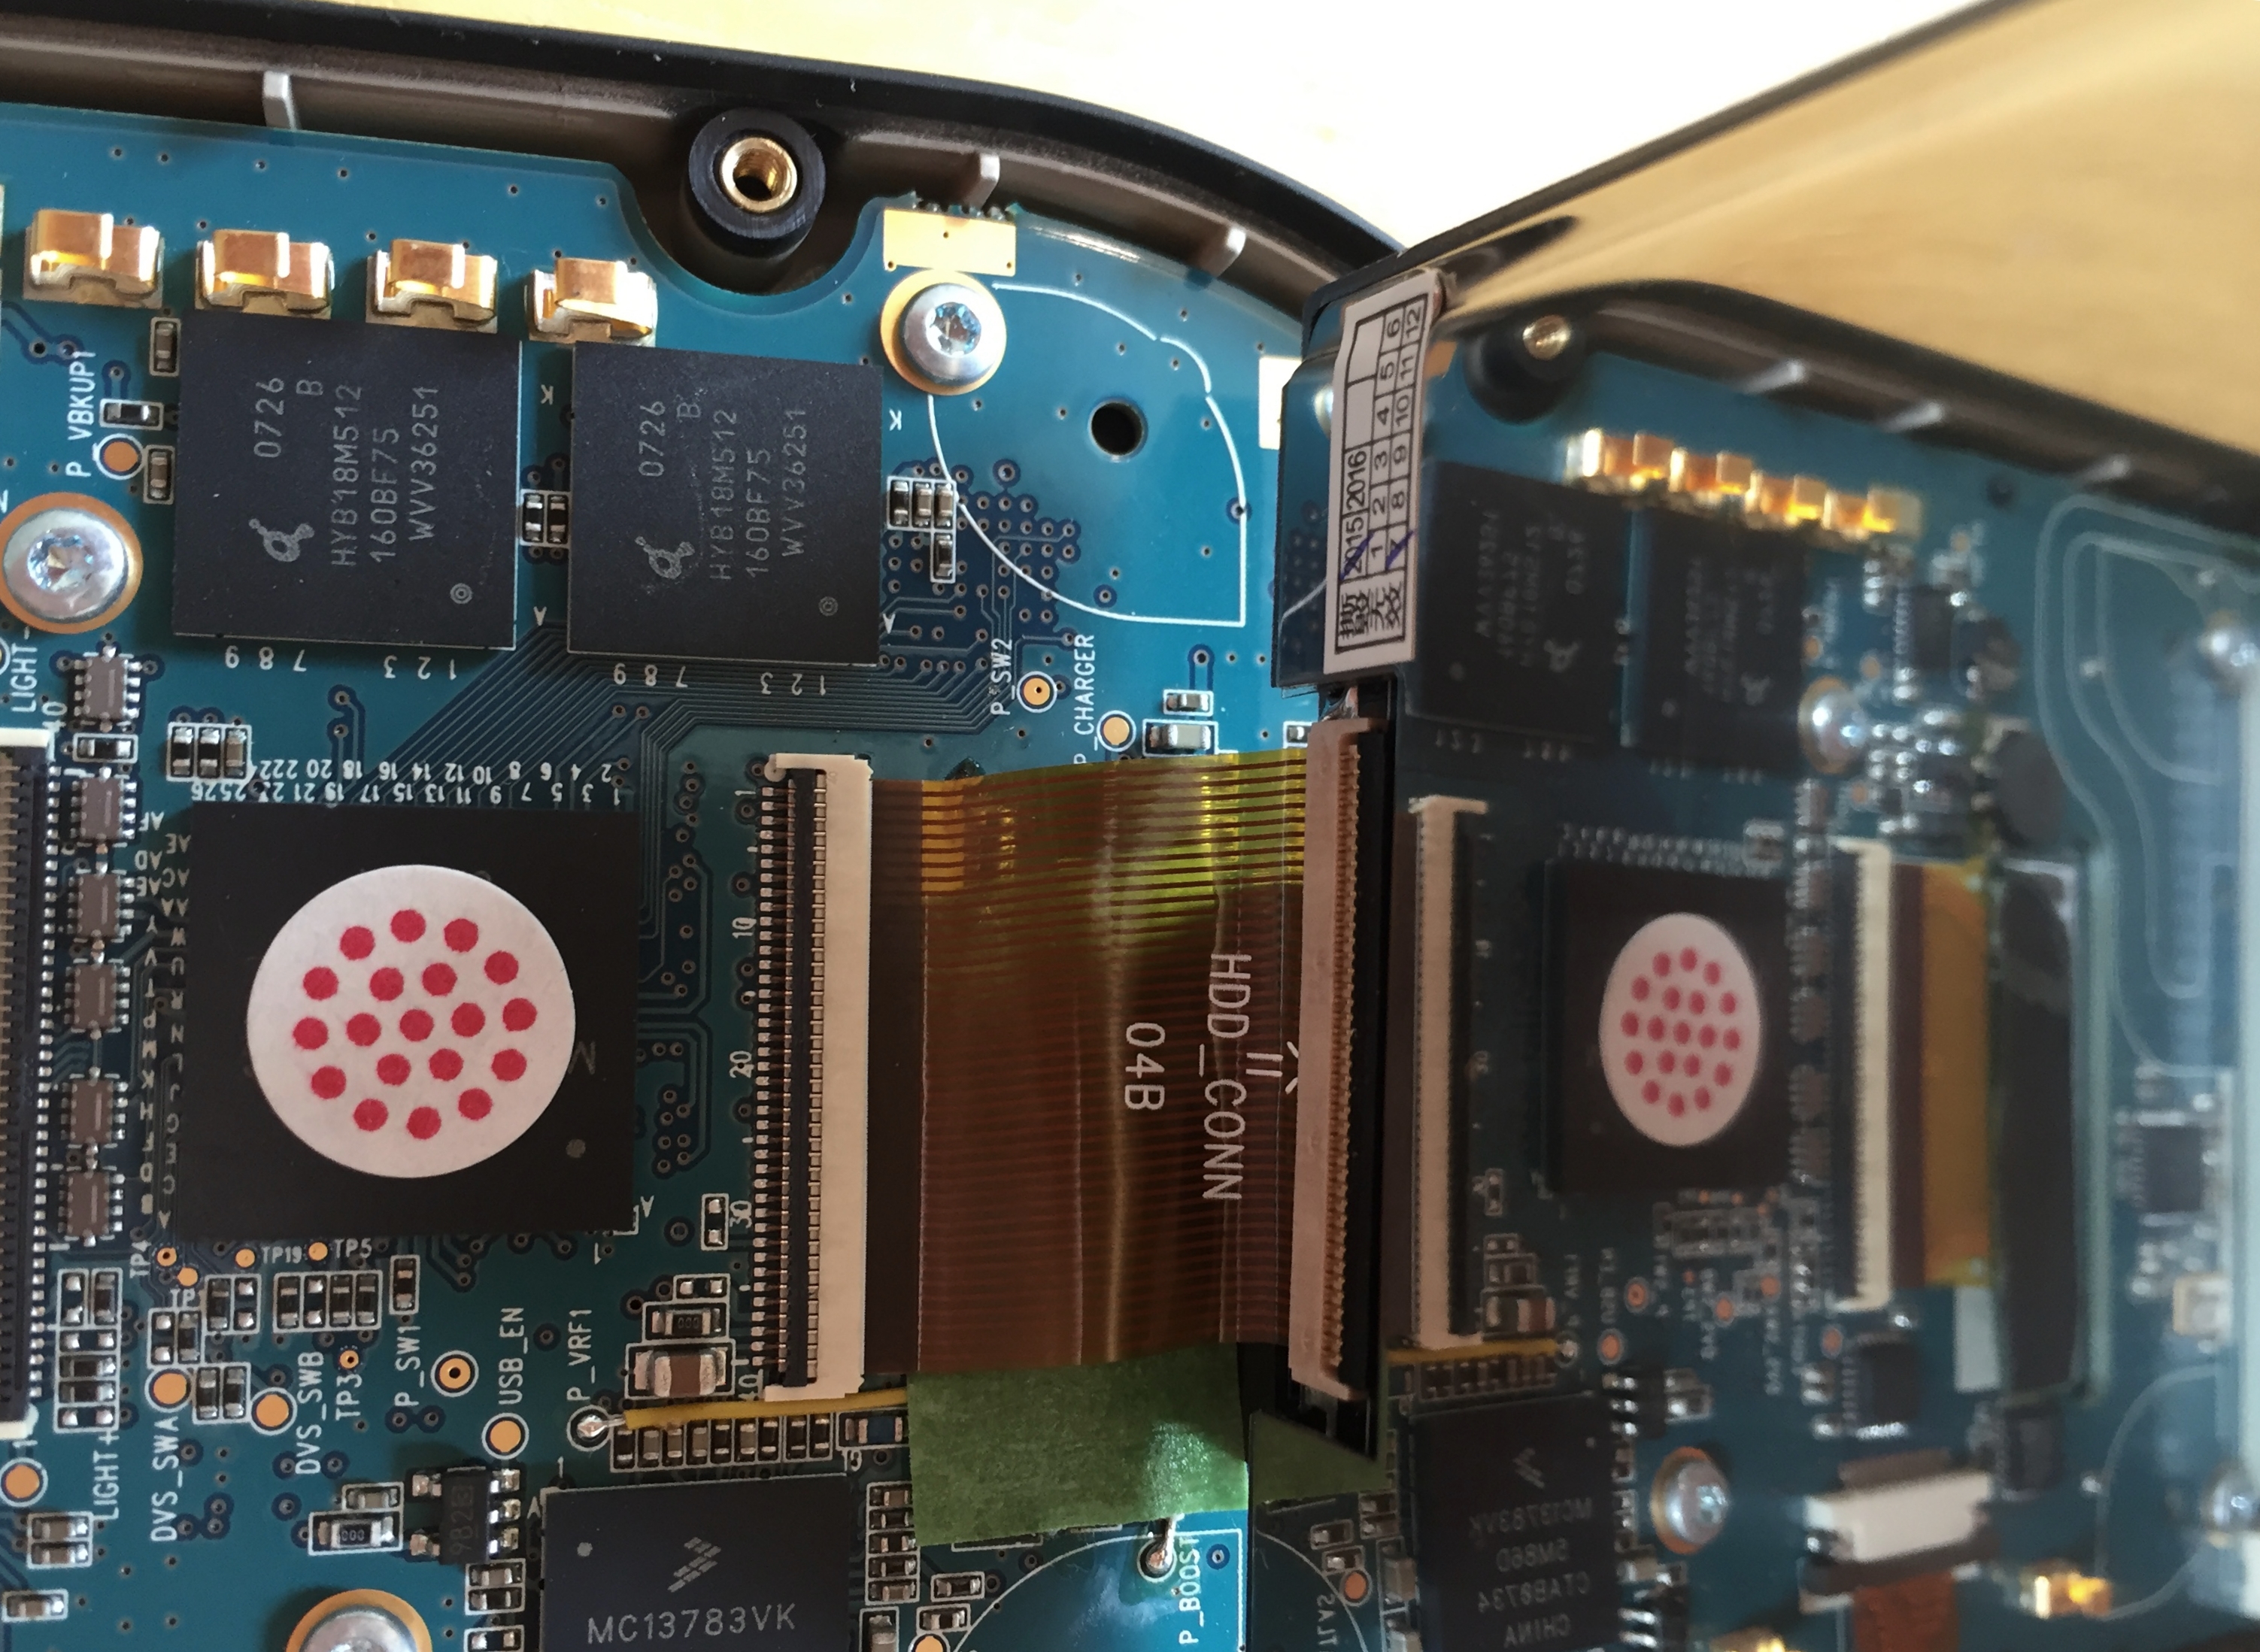
Remove the ZIF cable from the main circuit card
1. Carefully lift the old HDD.
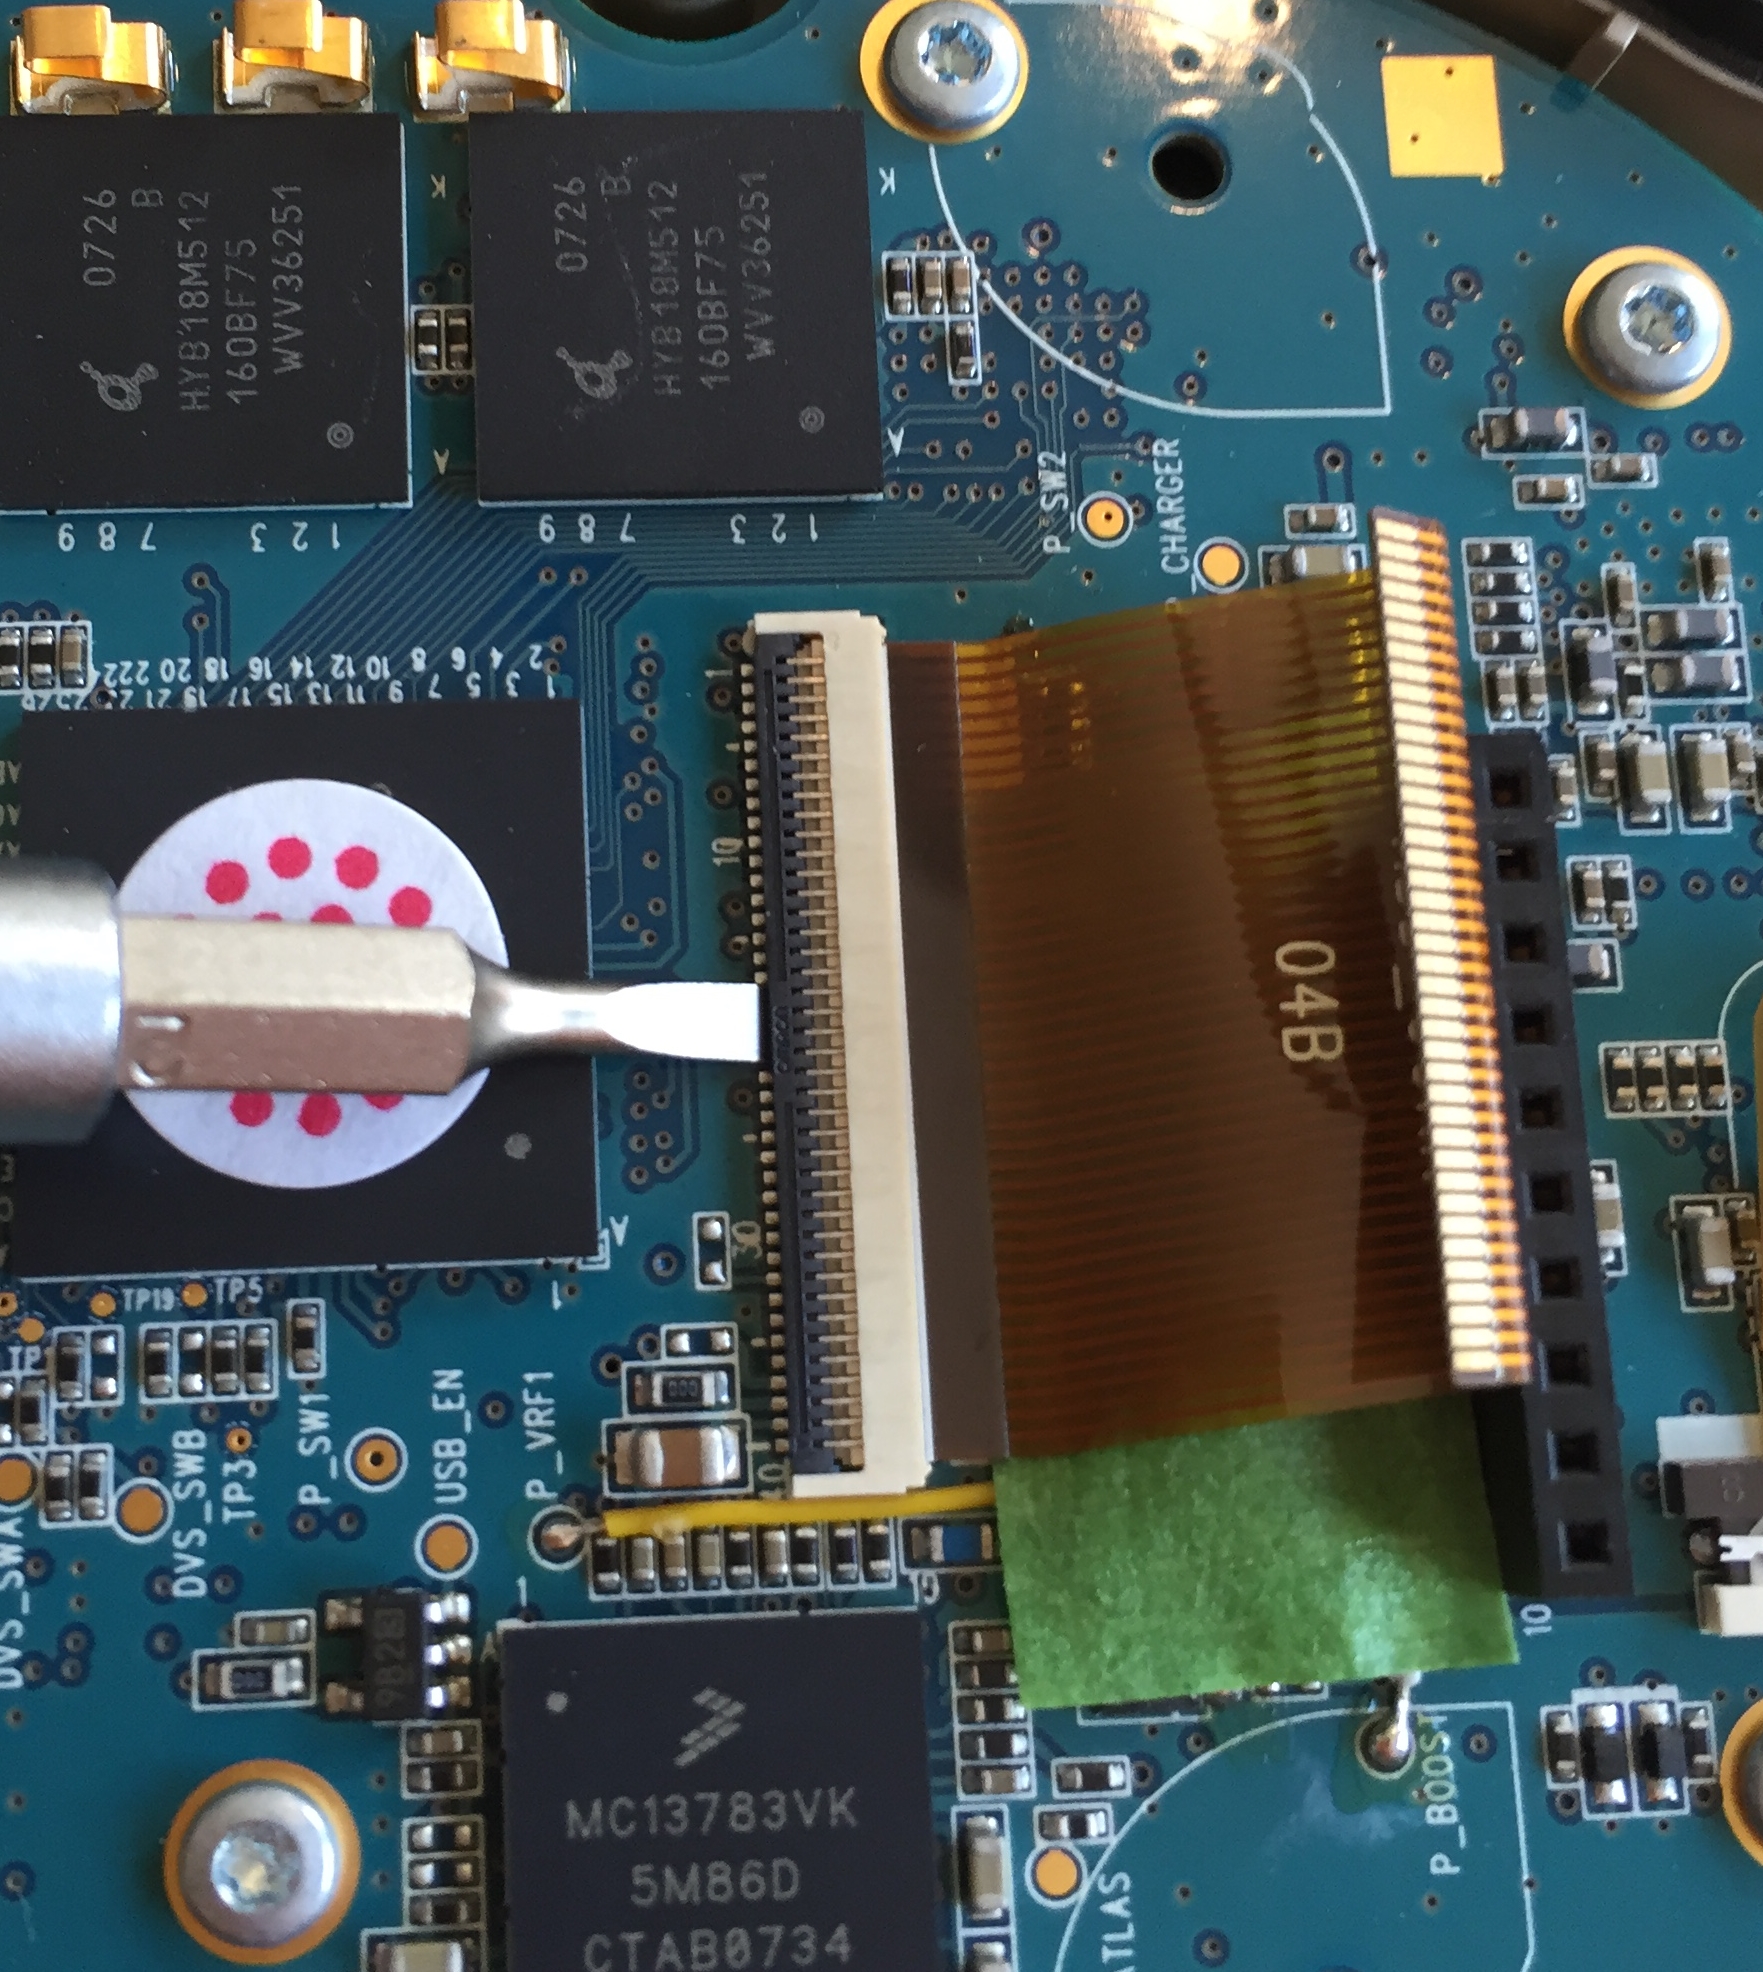
Release the cable lock:
Insert a flat surface and lift the black bar/ribbon/lock.
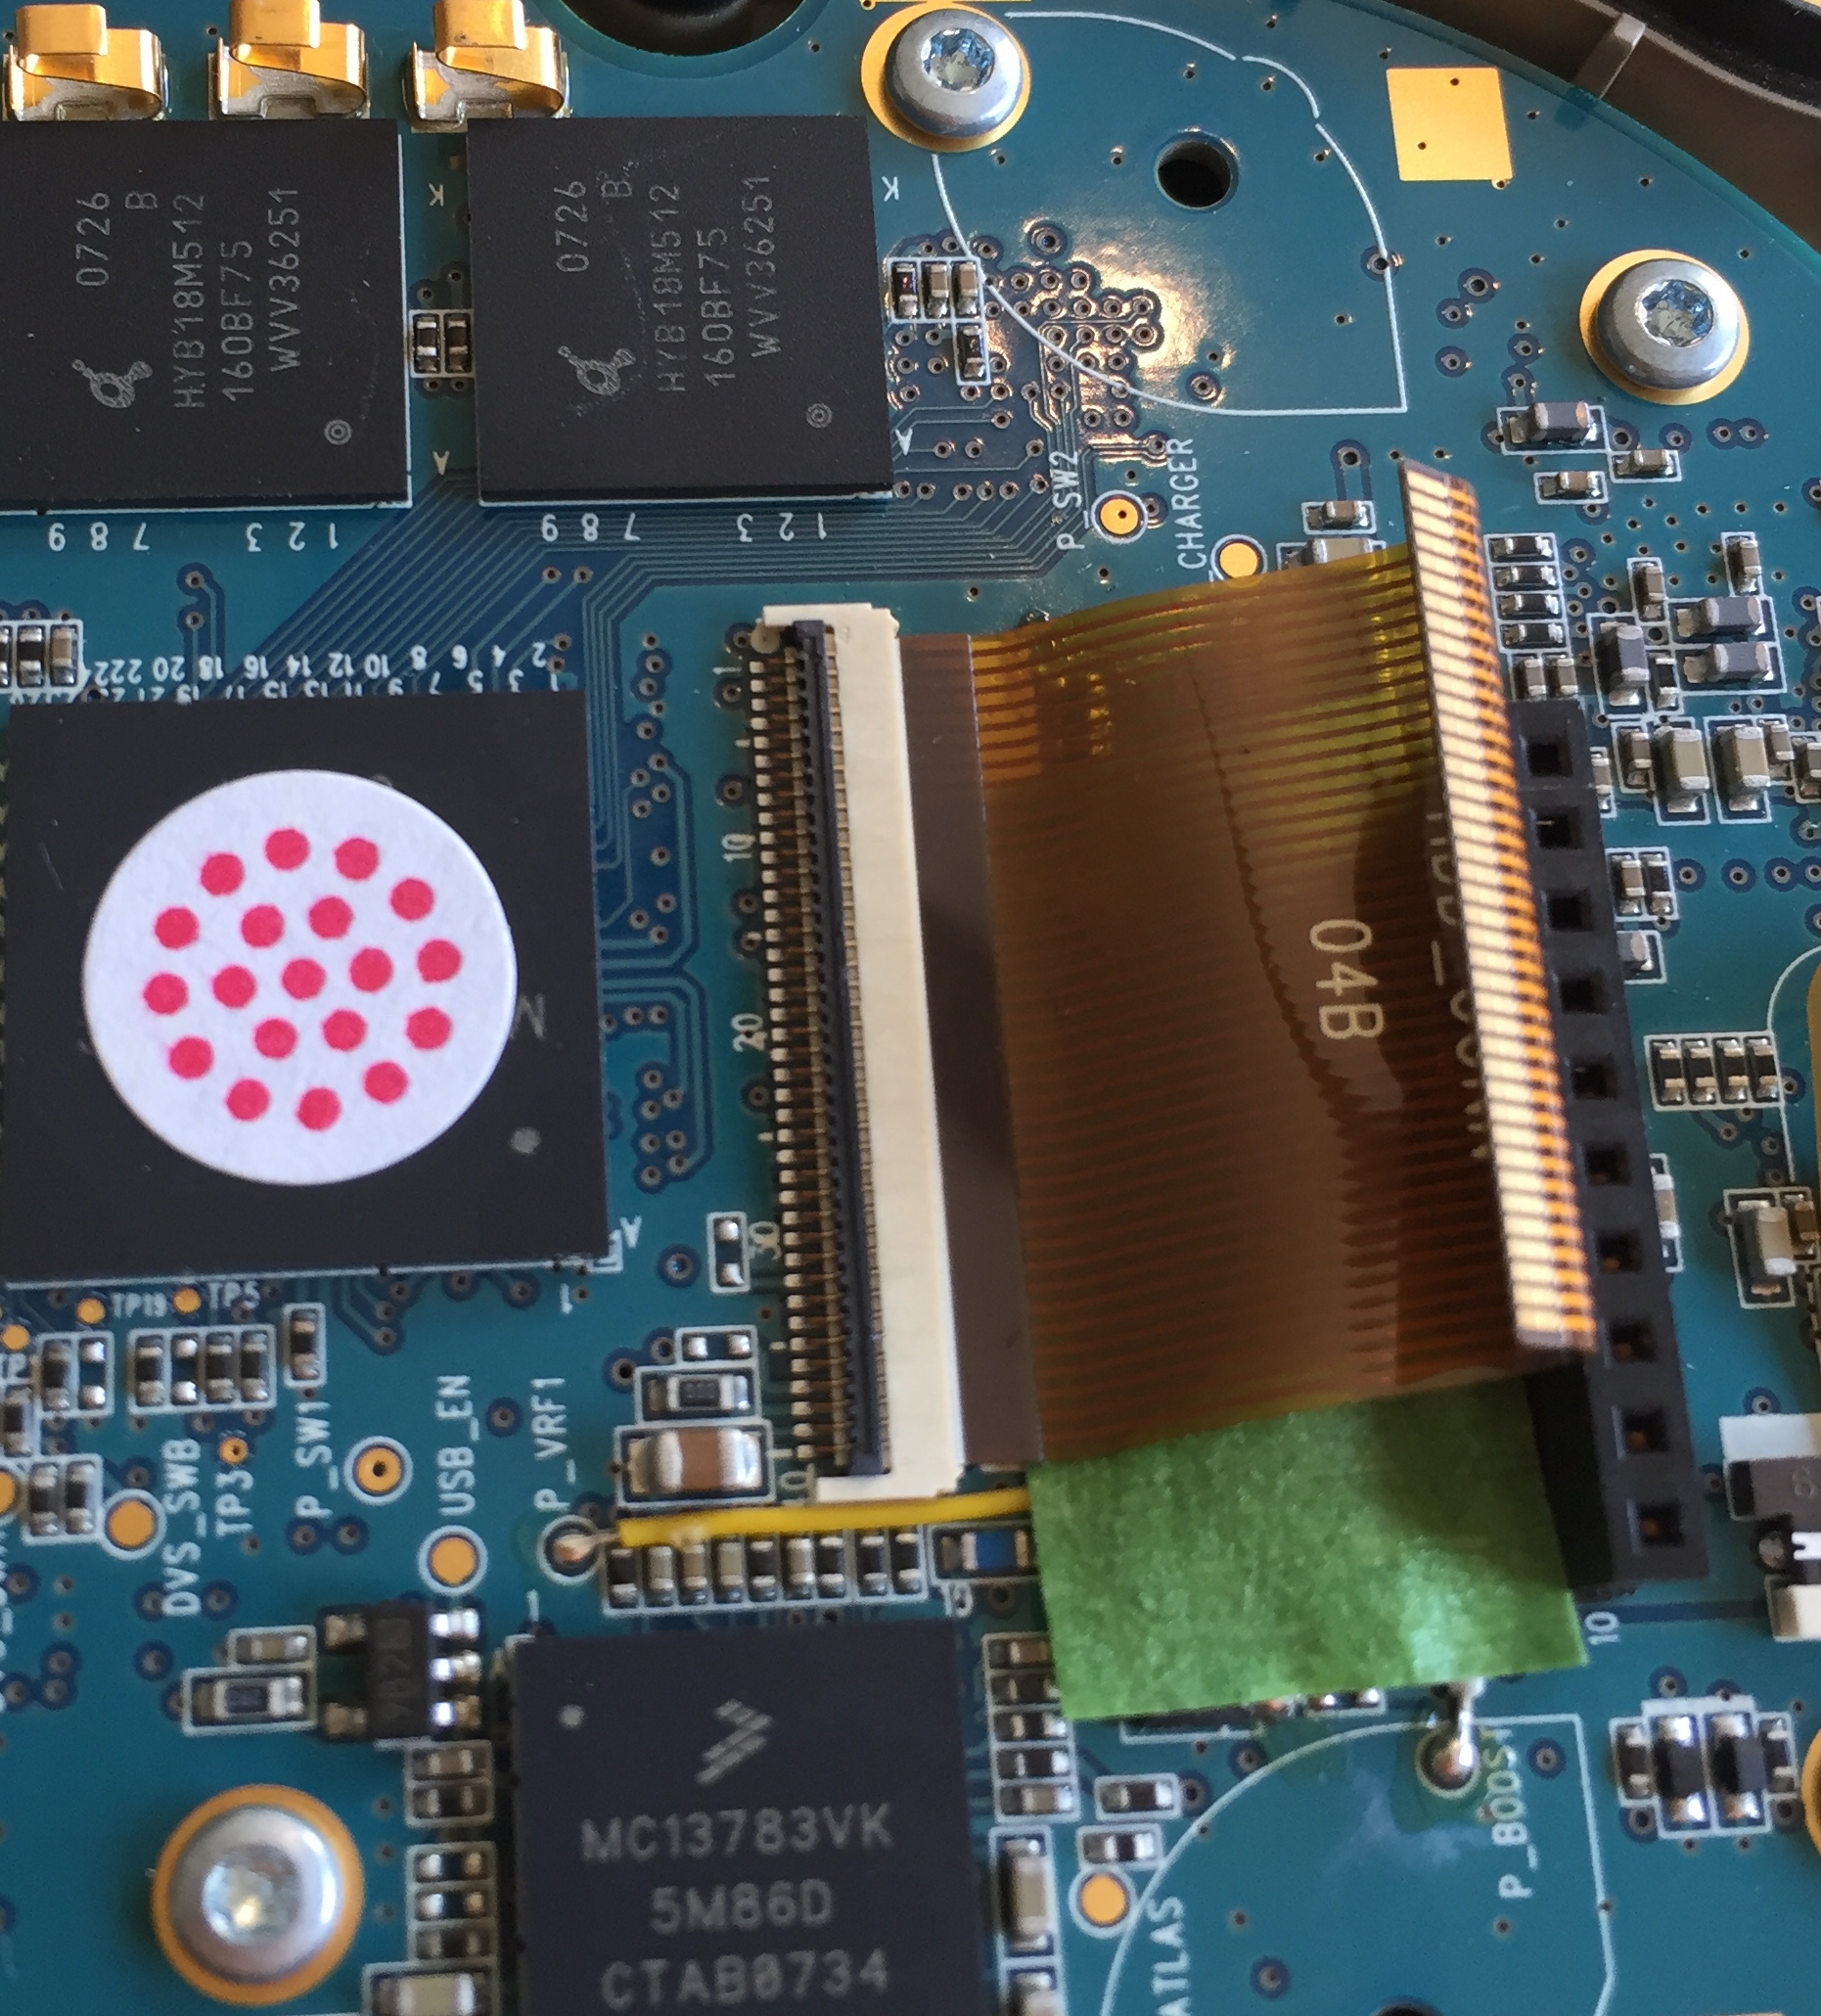
Pull out and remove the ZIF cable and the HDD.
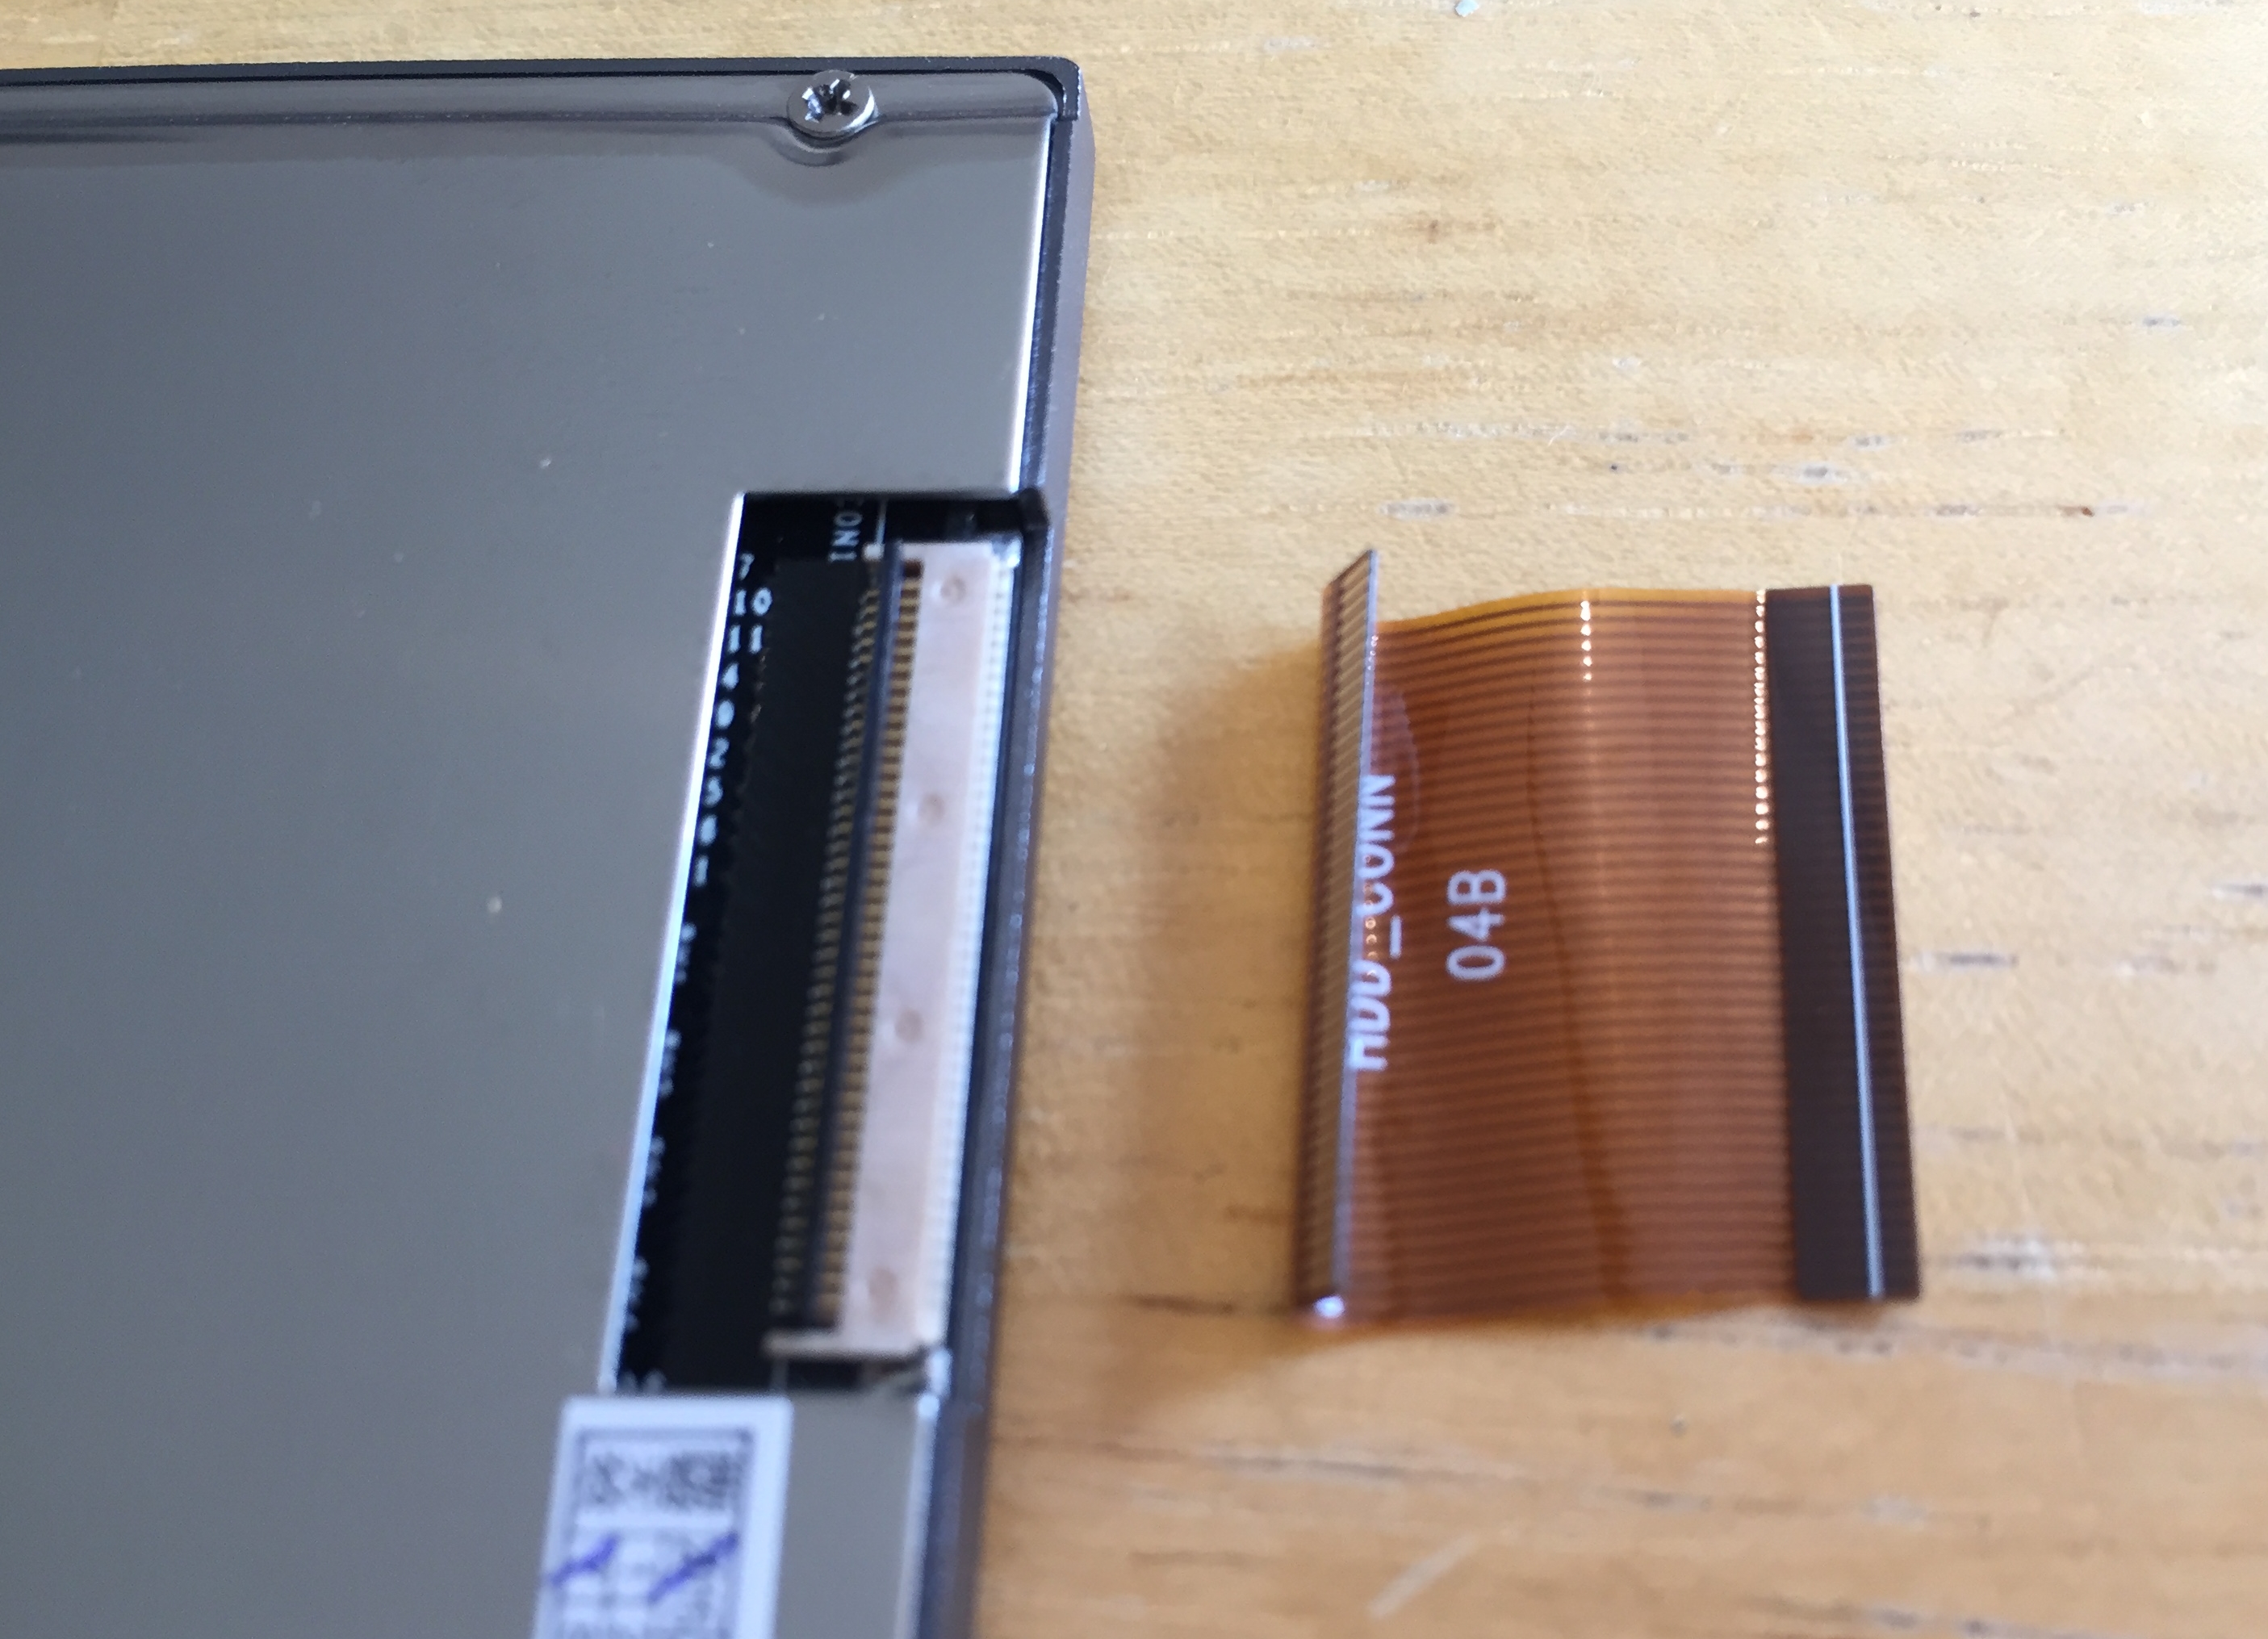
(Now release the ZIF cable from the HDD as well.)
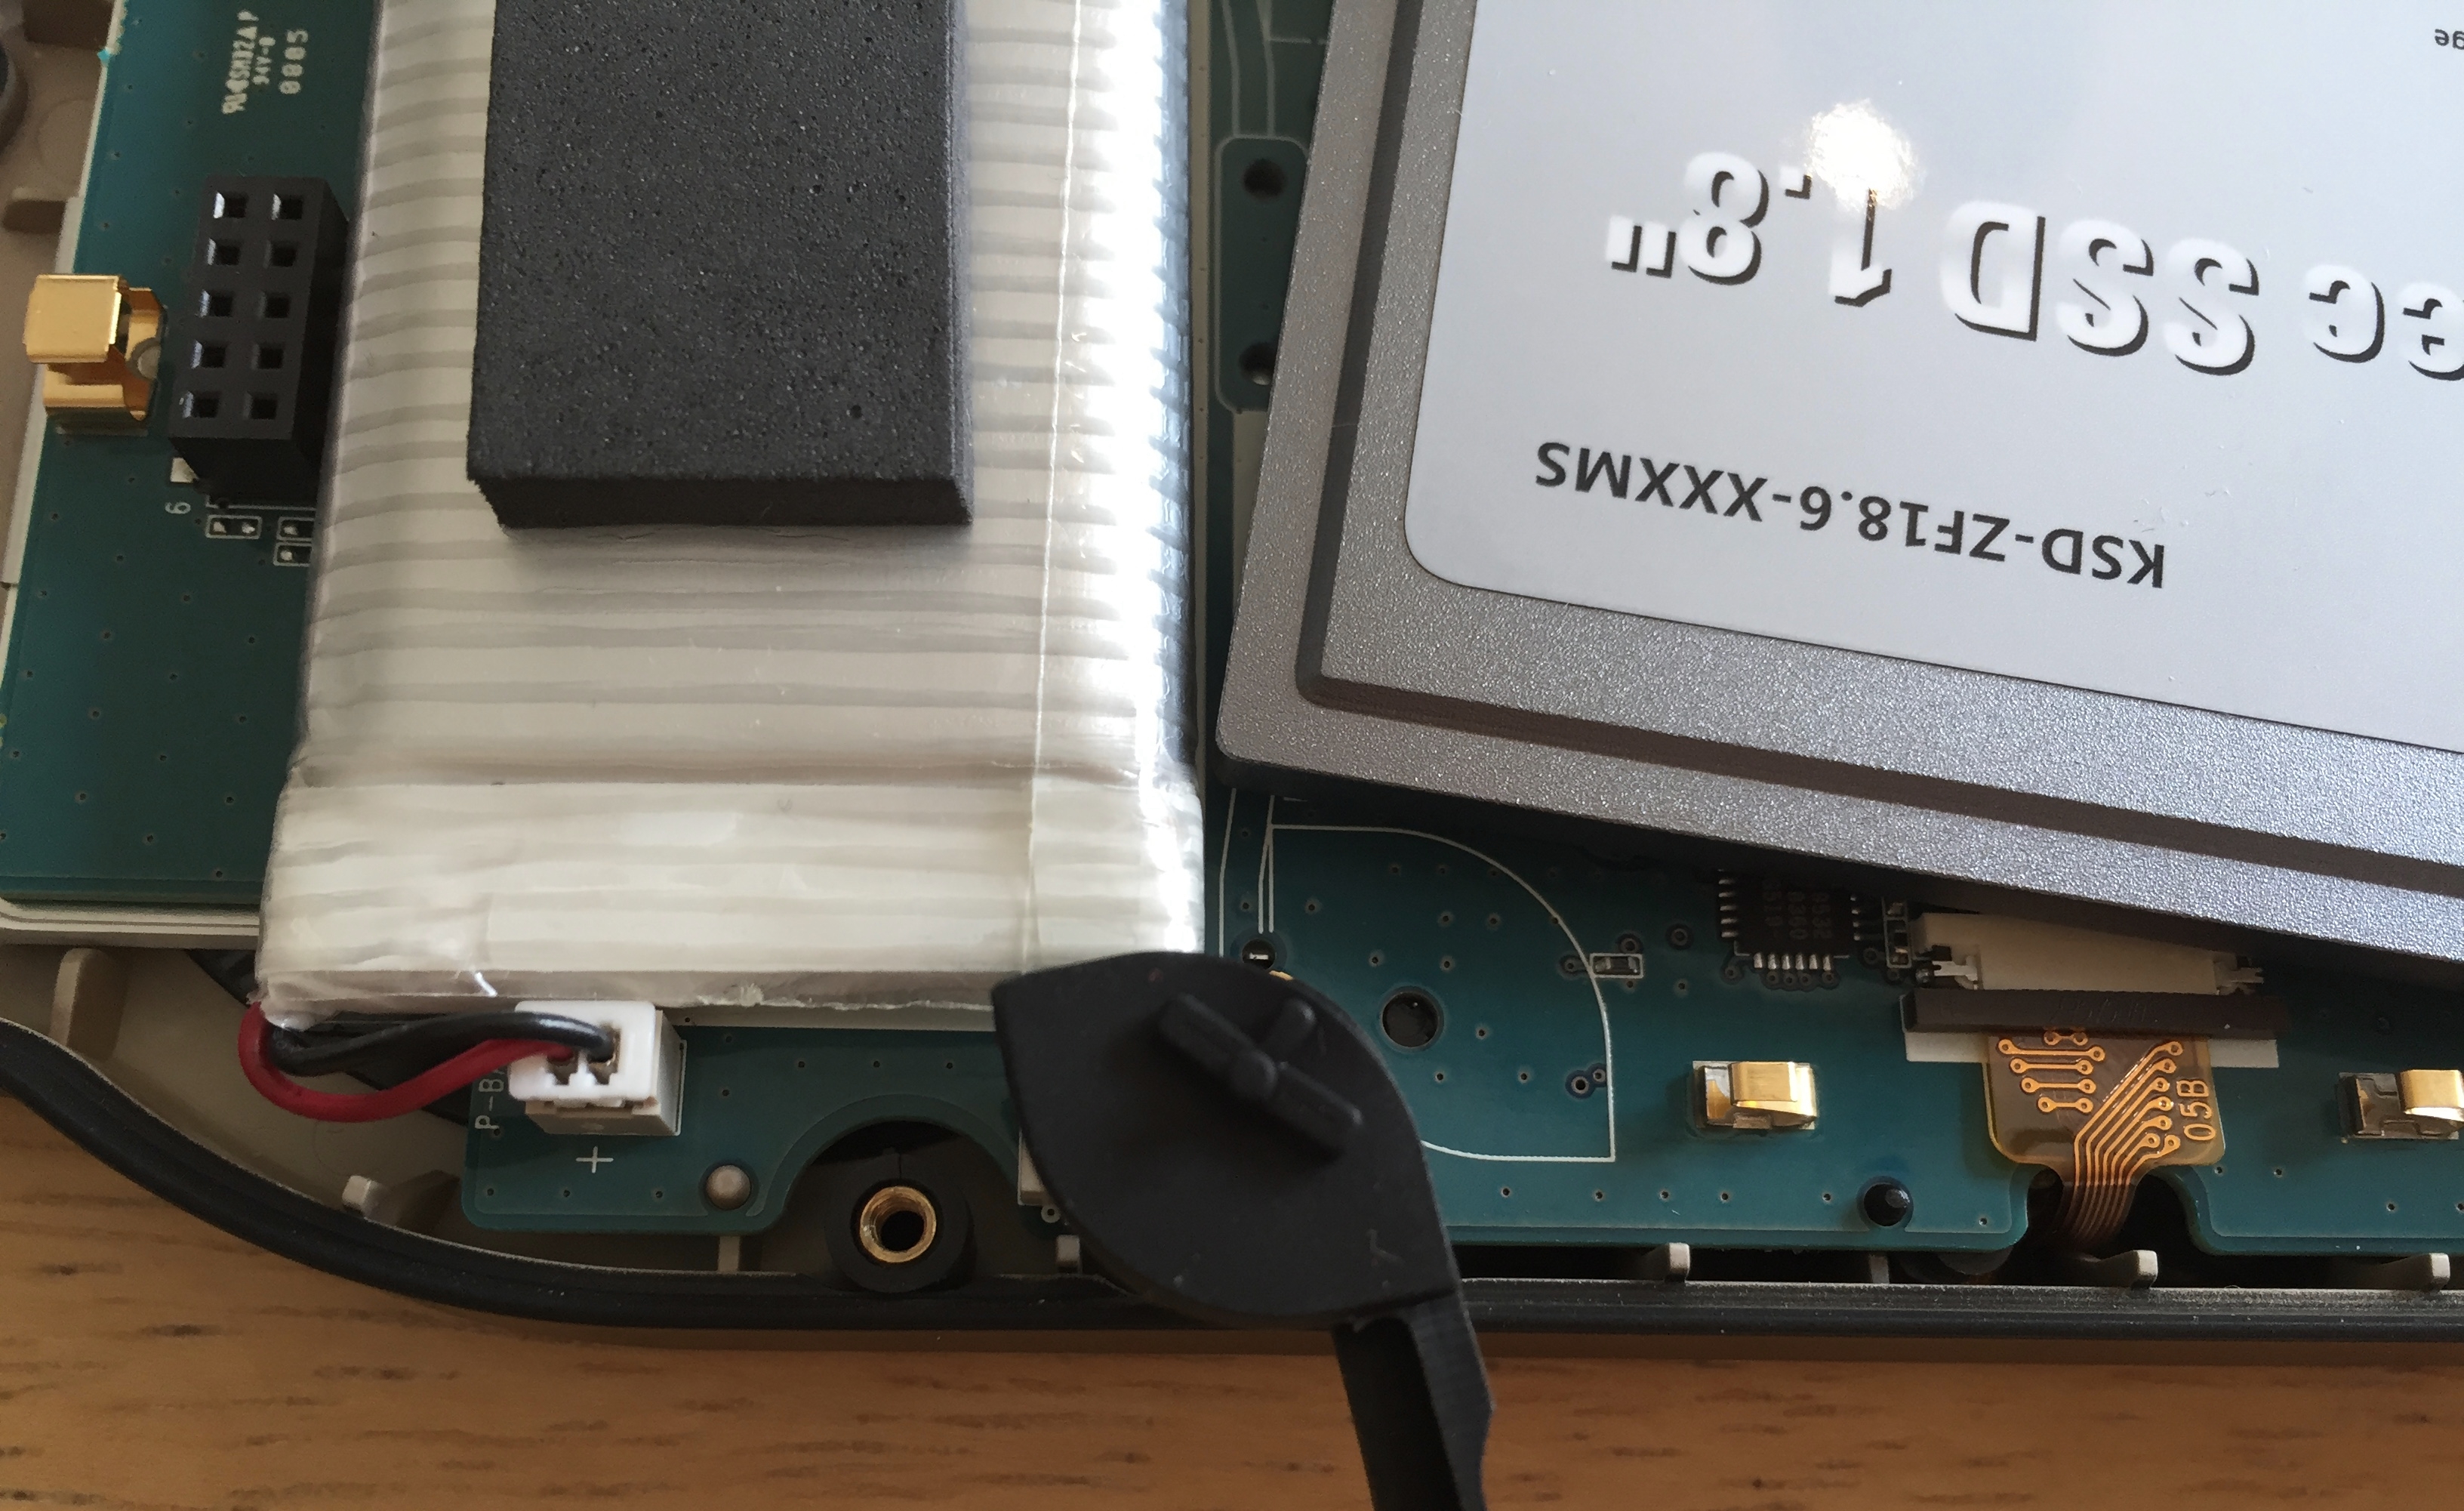
Put the old HDD away and insert the old ZIF cable in the new SSD.
(The white line at the cable should not be visable when you lock the cable in to you SSD.)
Lock the cable in to the main circuit board.
It can be a little tricky, but try to put the shock protection back. First on to you SSD and then back in to the small holes at the main card.
Ready to put the back and front together again
It should look something like this:
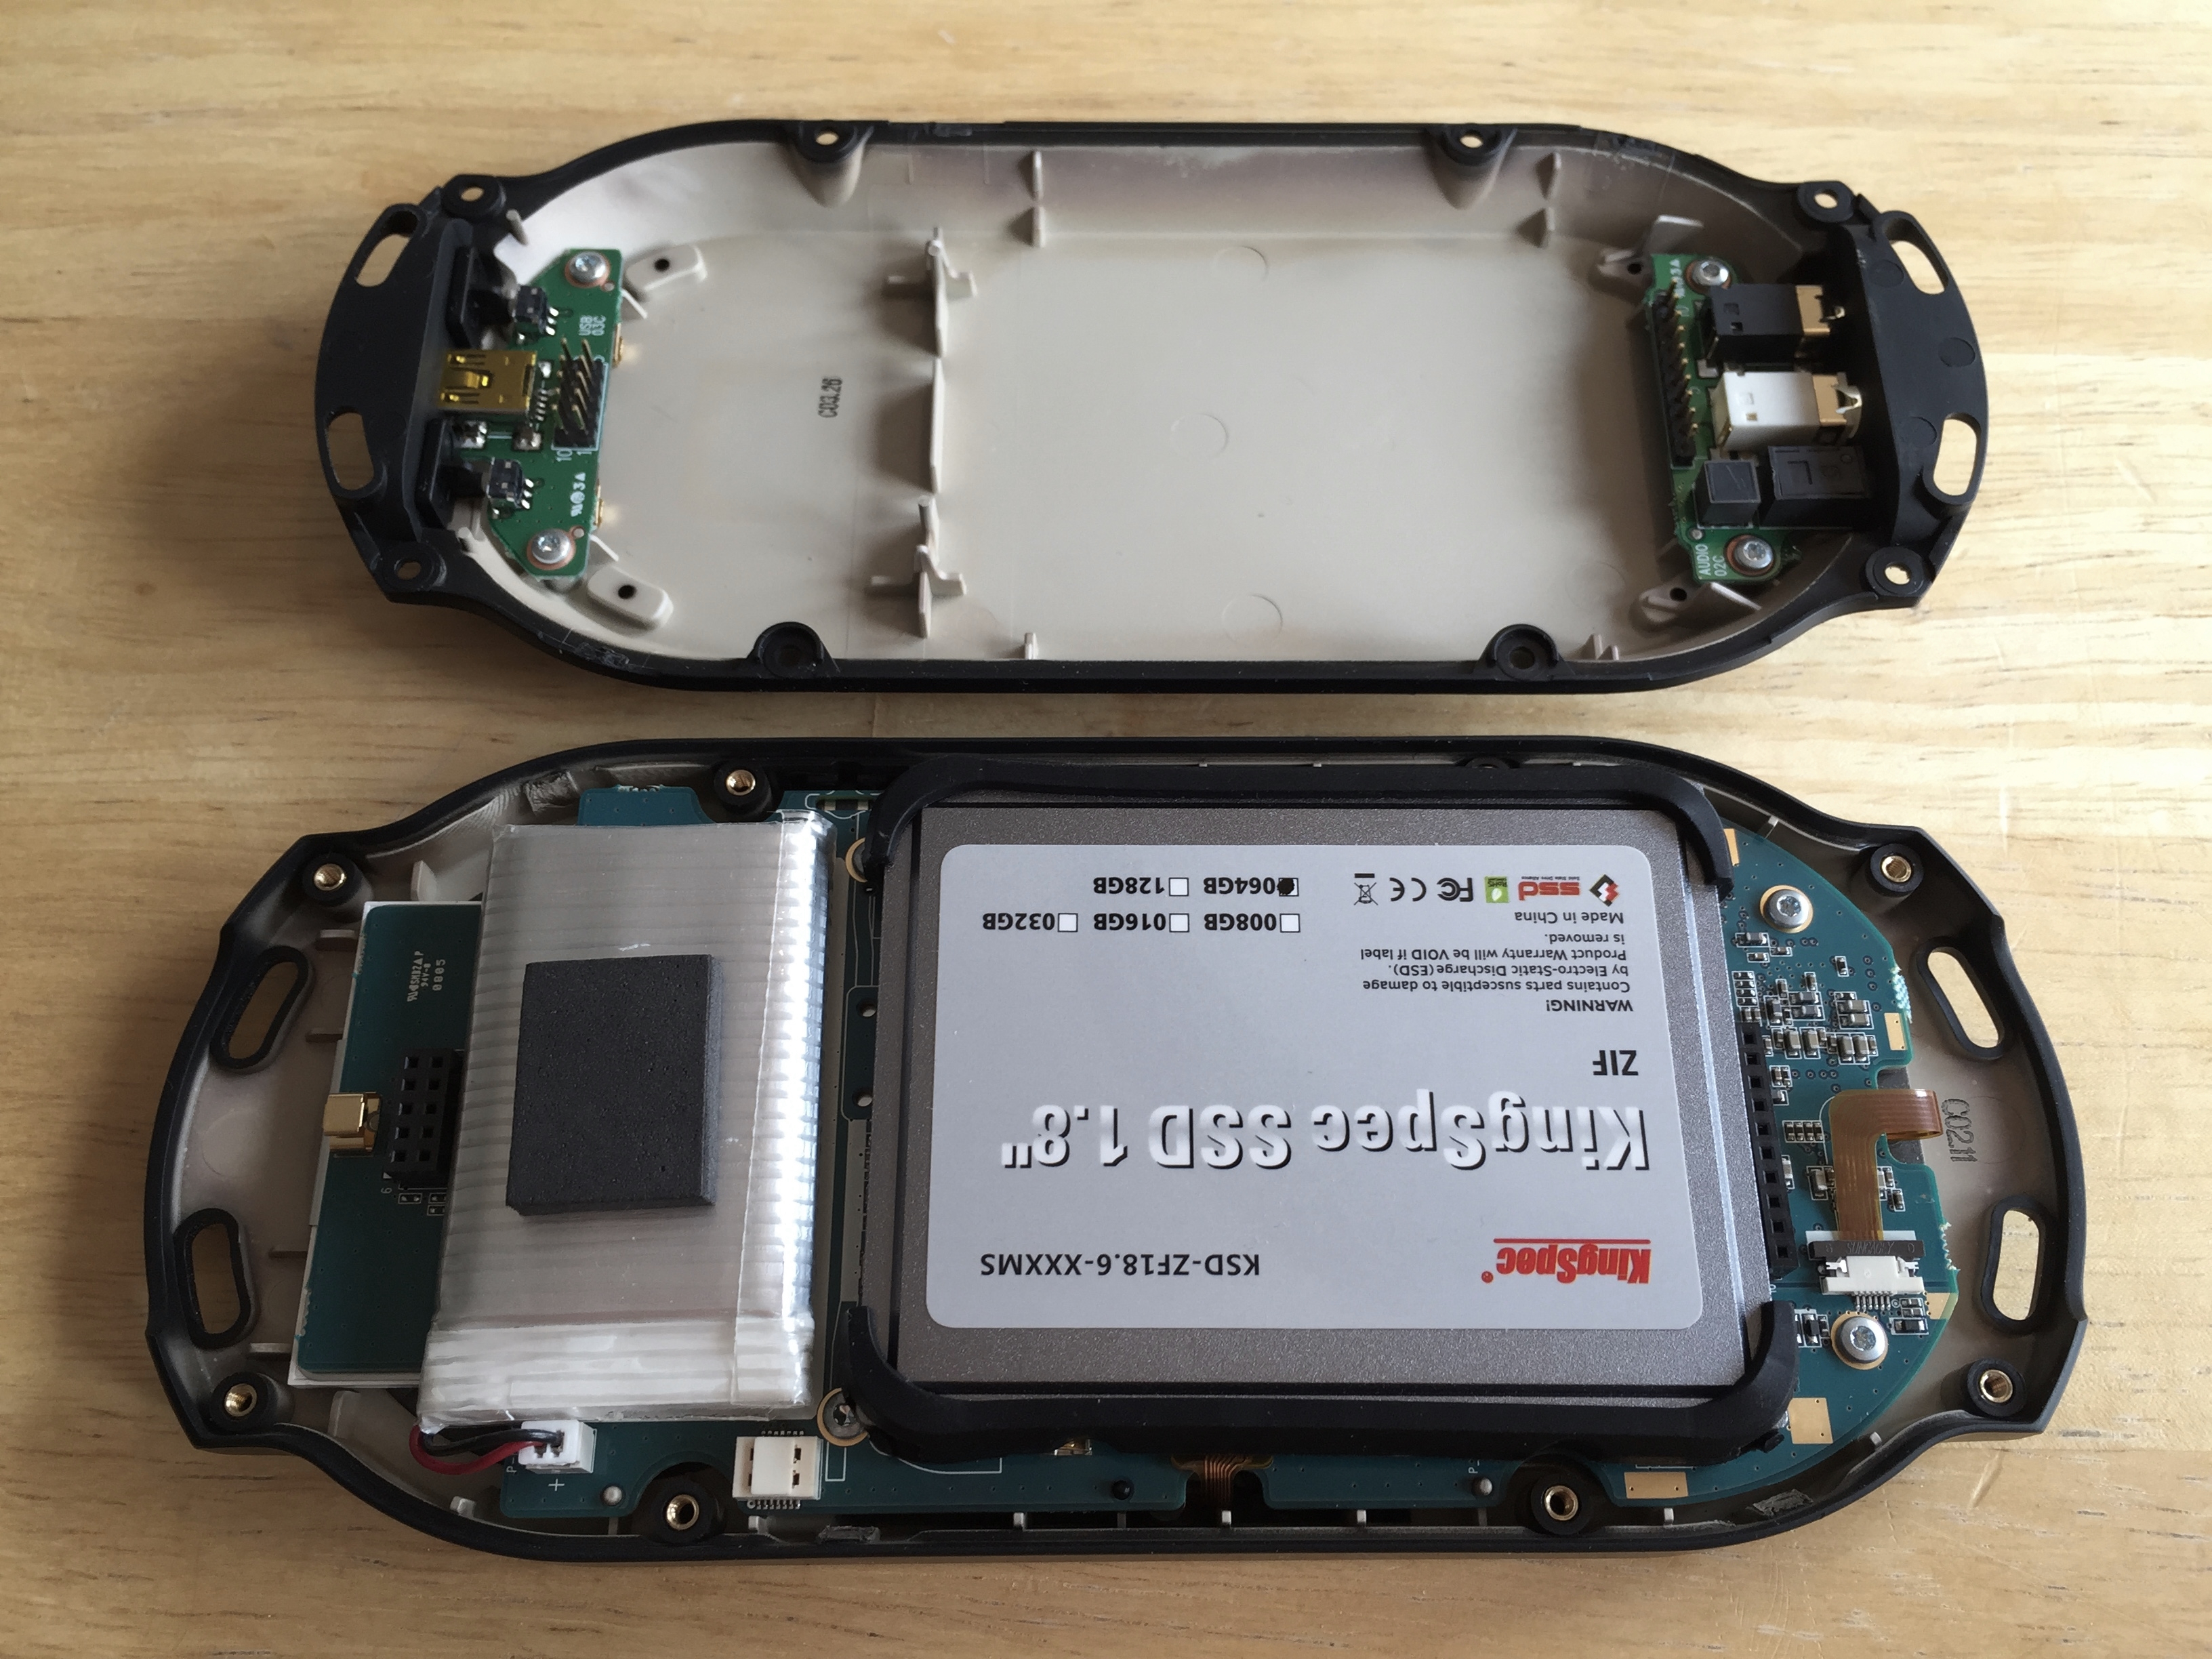
Put the back and front together again with the Torx (T6).
Chapter 3 – Software installation
Start your Pacemaker device
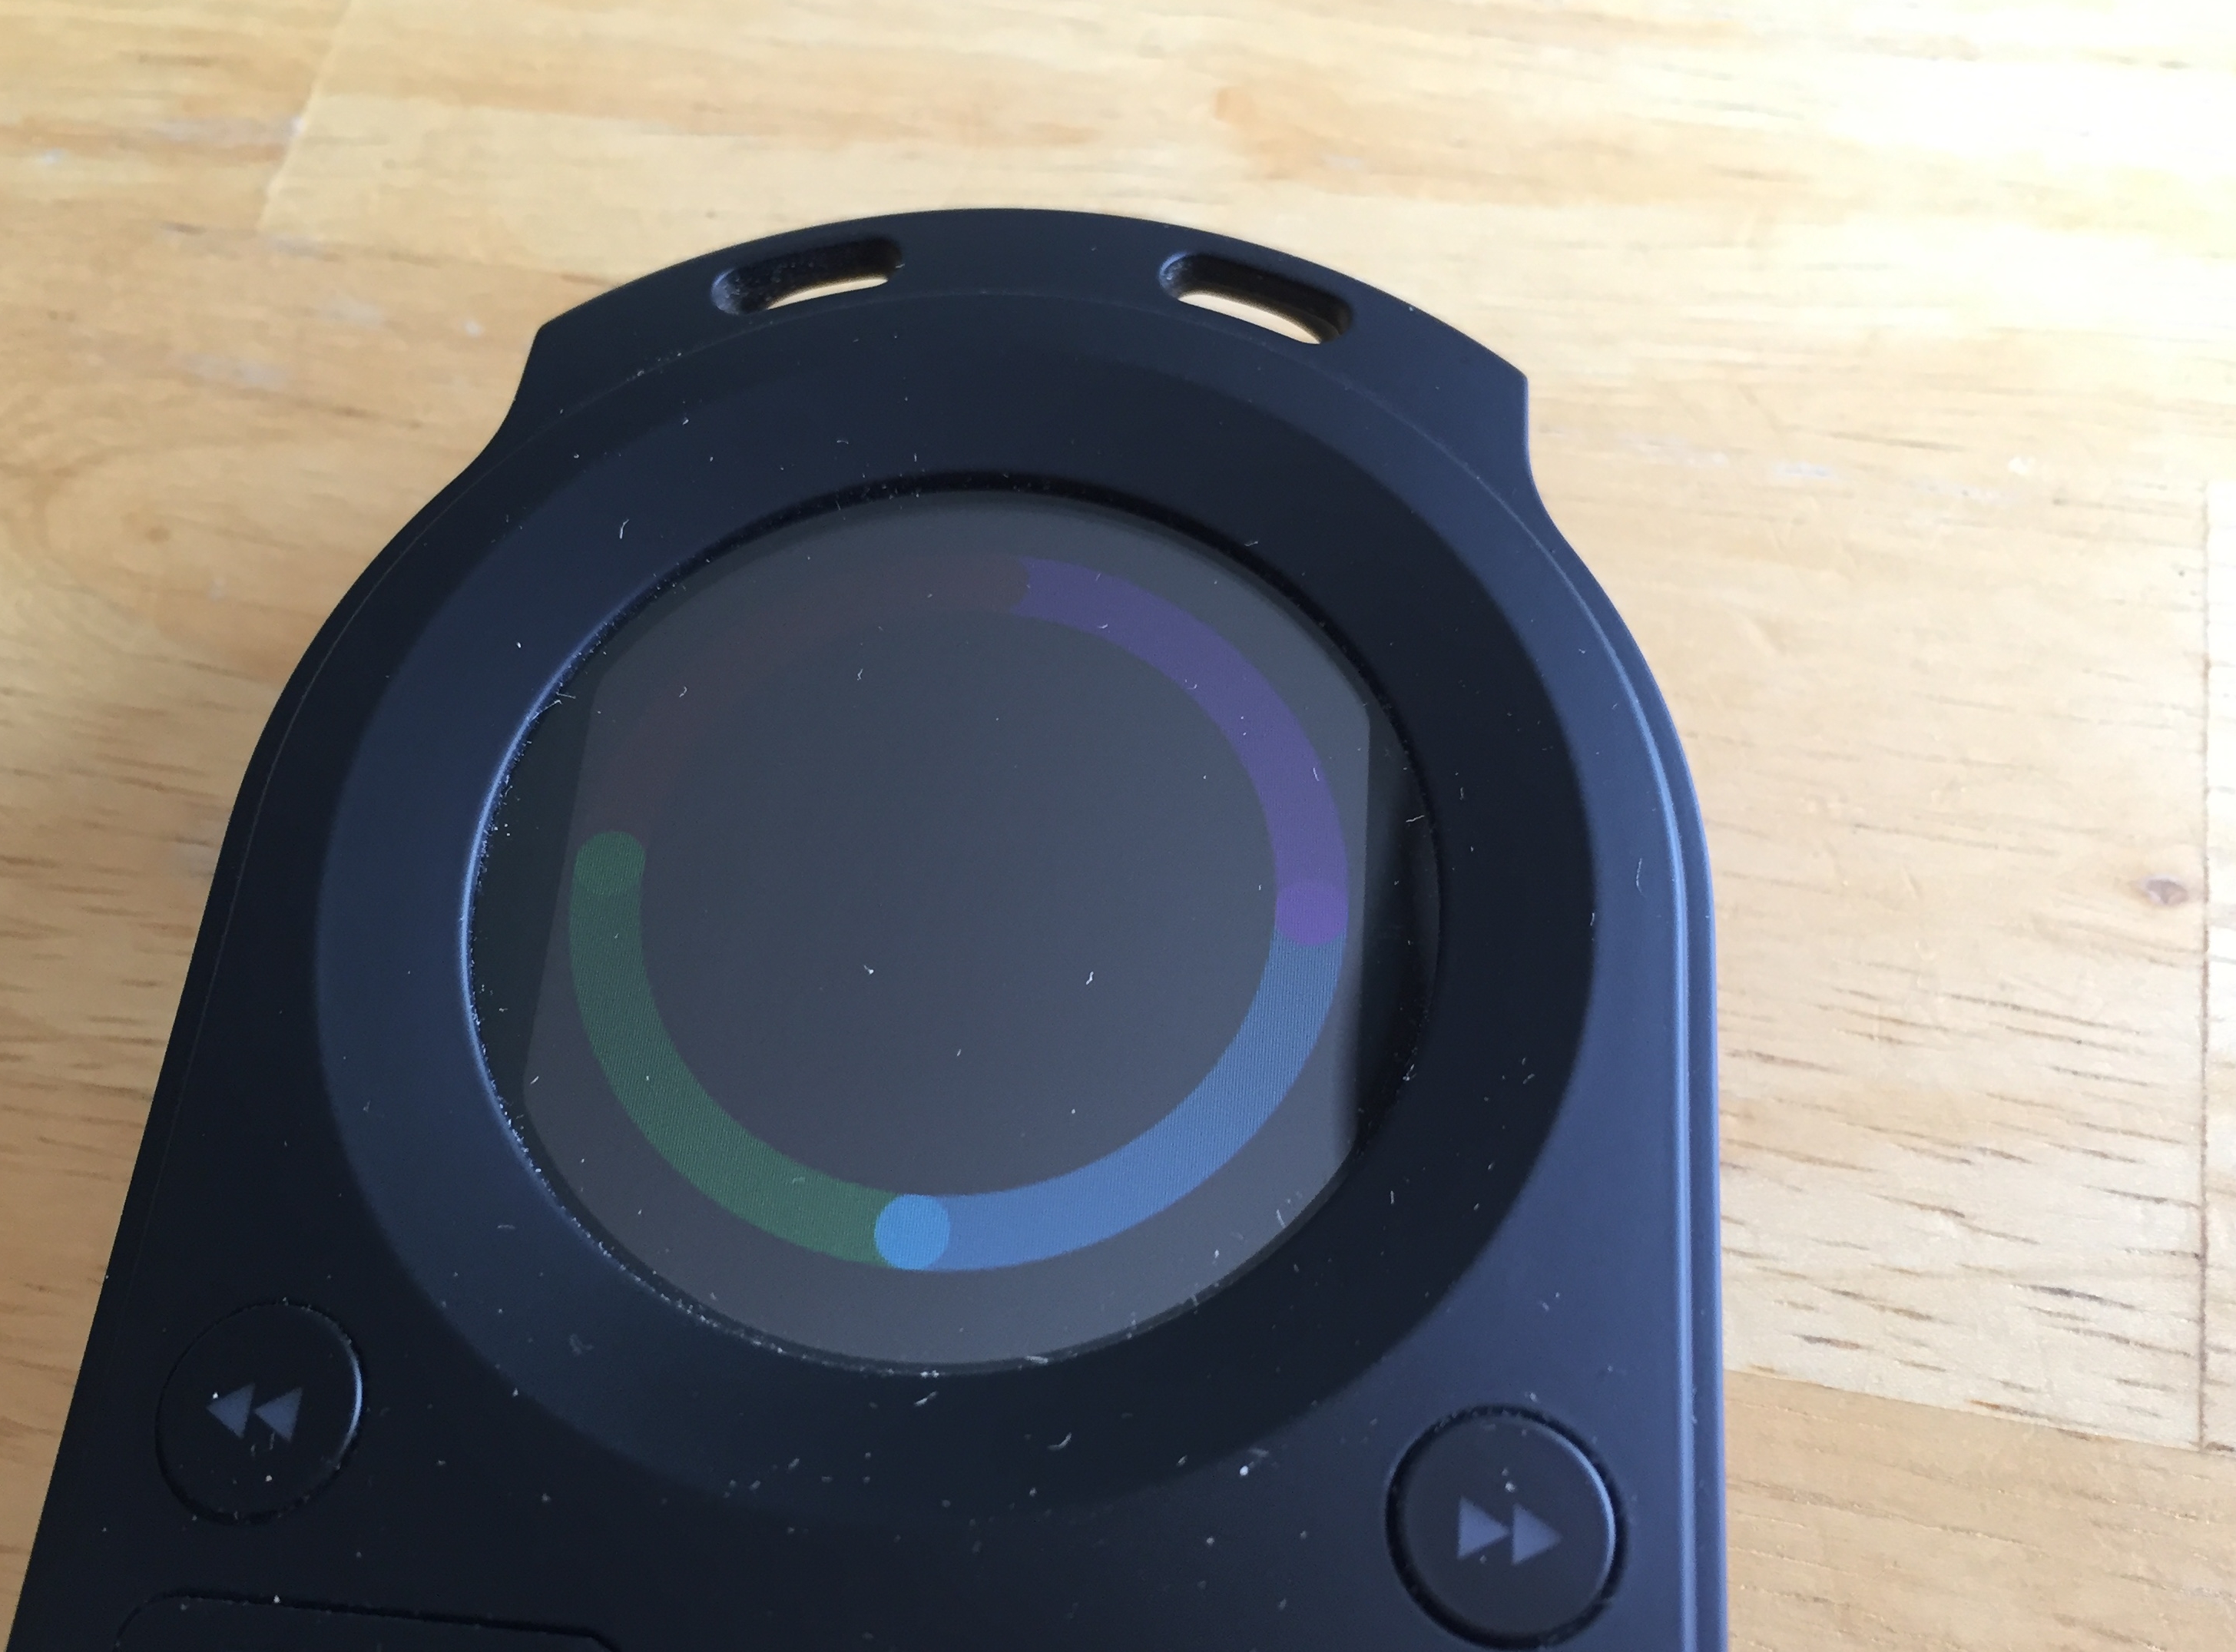
Follow the steps on the screen and restore the SSD.
![Sorry friend... Hard drive needs checking. [Continue]](https://wordpress.bergq.se/wp-content/uploads/2016/09/2016-09-03-13.28.07_crop.jpg)
Sorry friend… Hard drive needs checking.
[Continue]
![Restore hard drive? [Restore]](https://wordpress.bergq.se/wp-content/uploads/2016/09/2016-09-03-13.28.24_crop.jpg)
Restore hard drive?
[Restore]
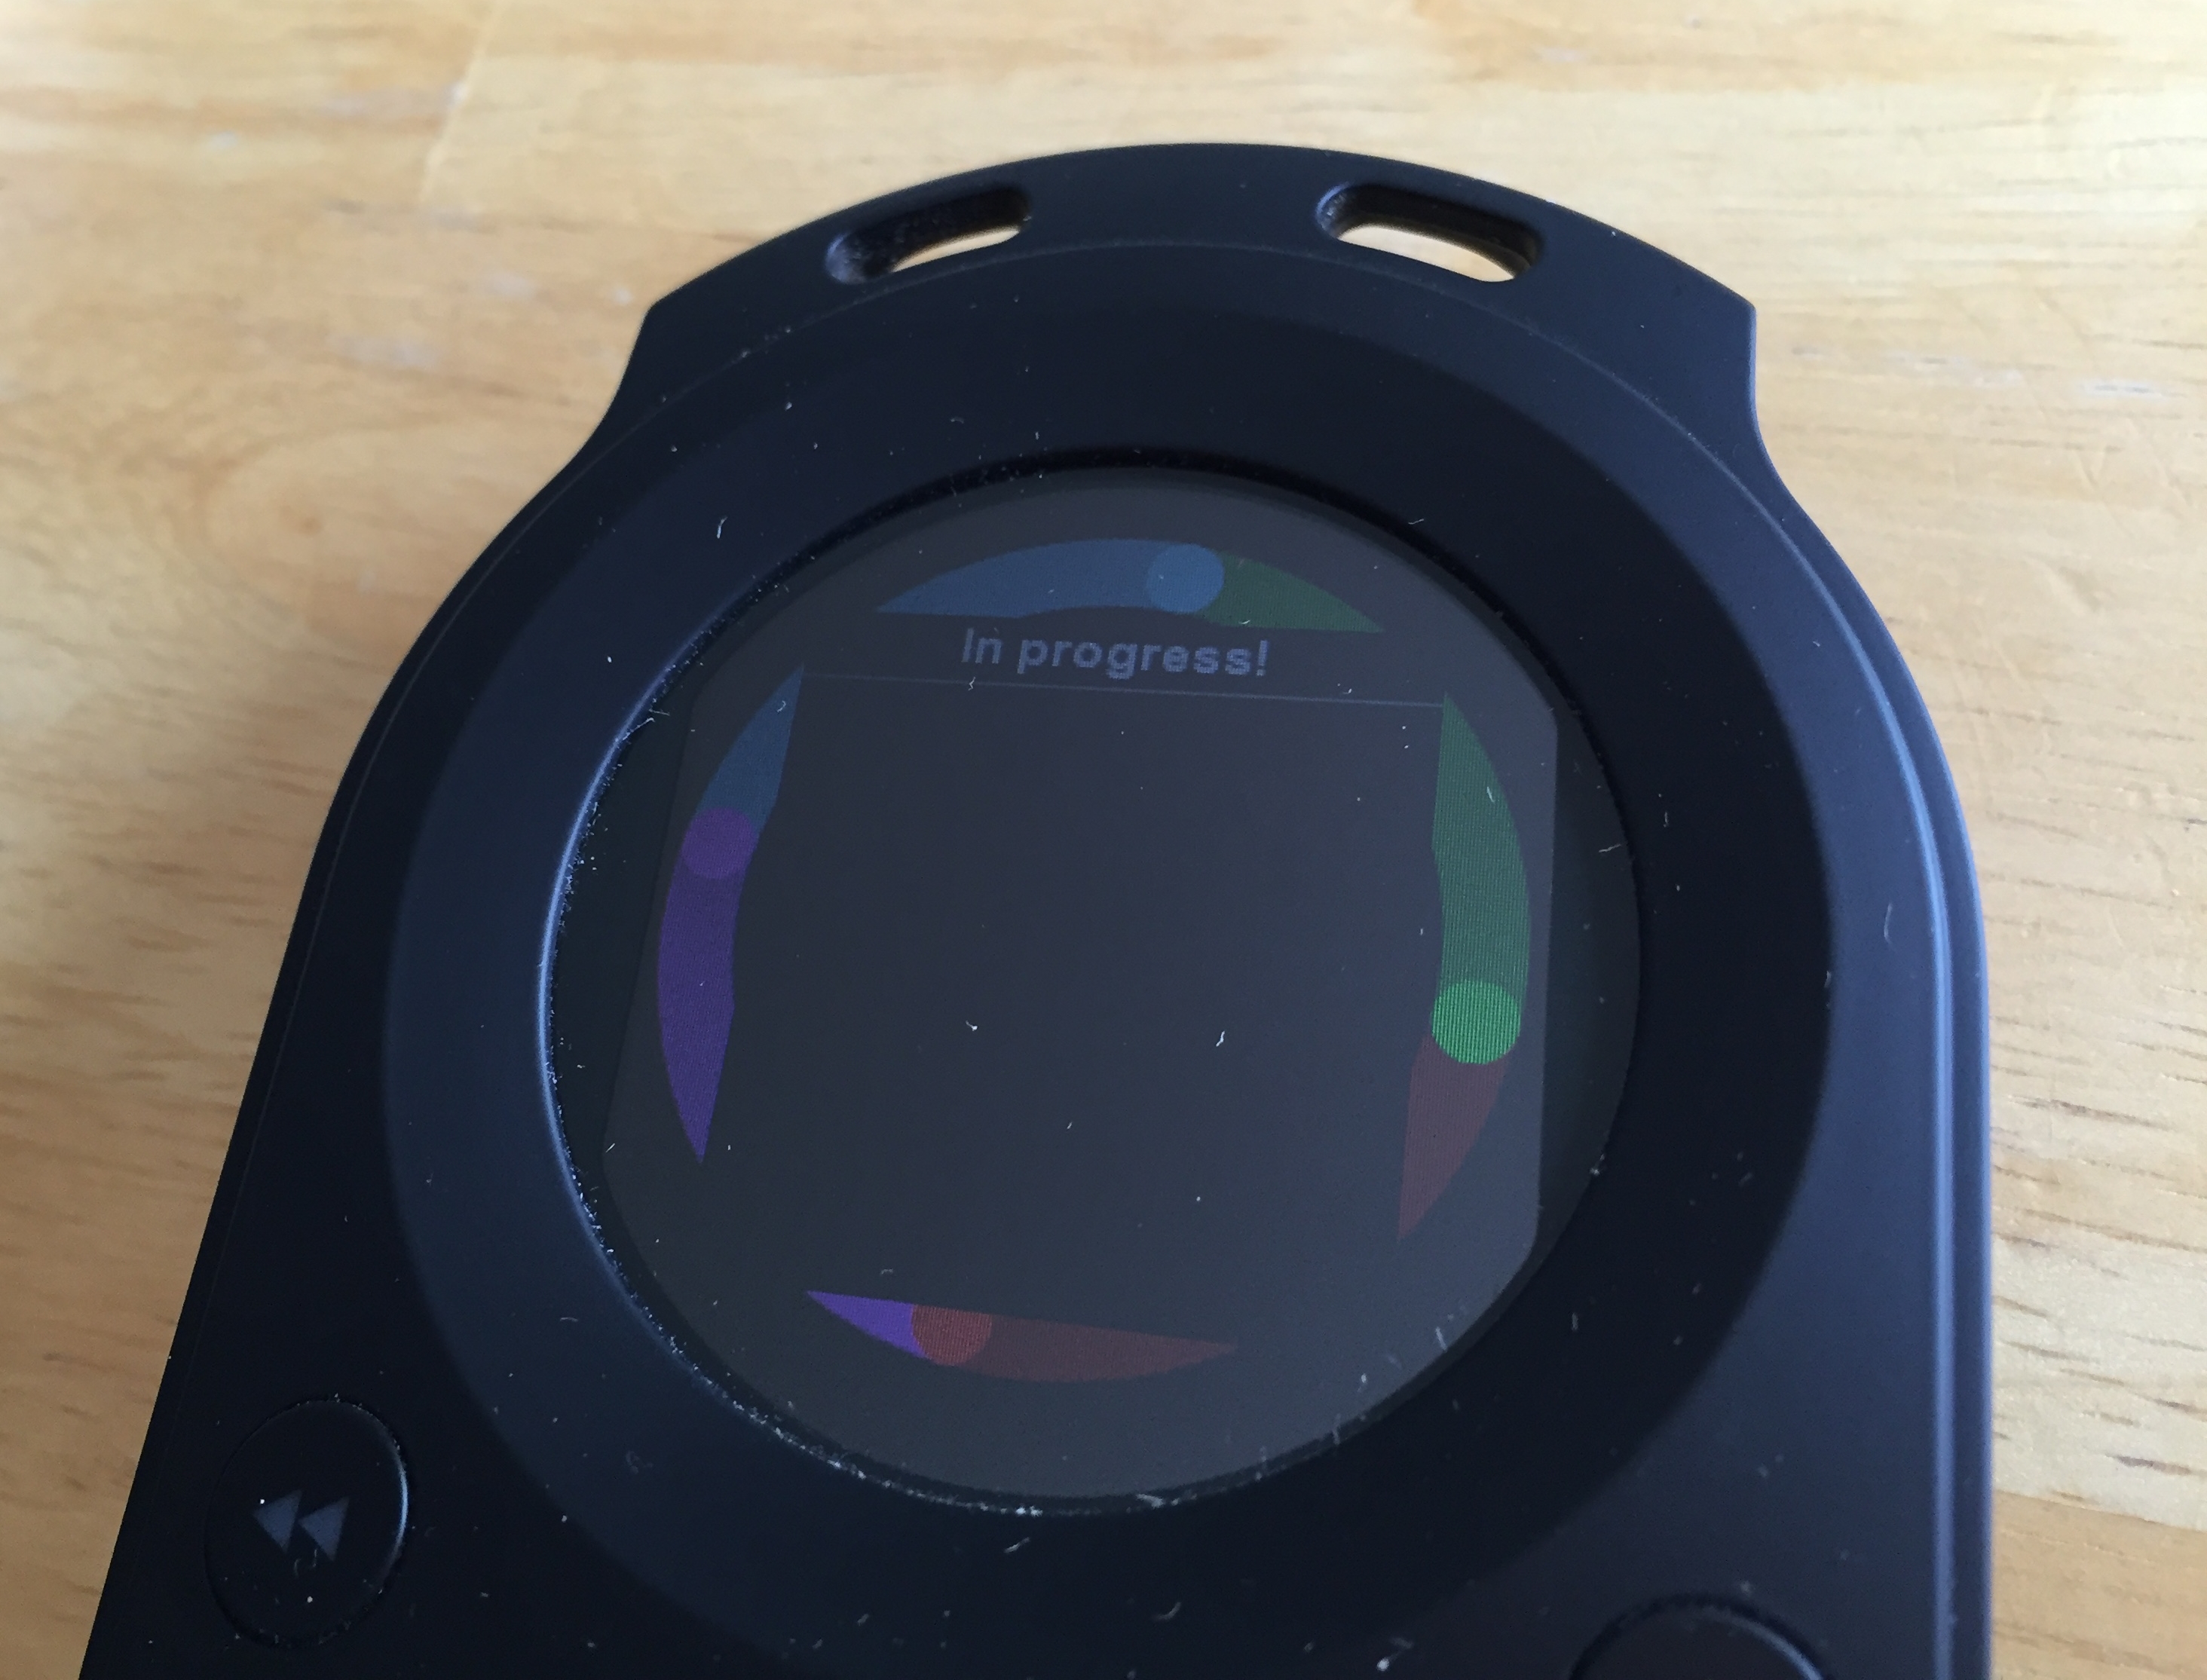
In progress
Disc restoration complete
Restart and confirmation of the restoration.
You will now need to upgrade the firmware.
Connect the divice to a computer with a (Mini) USB cable.

Restart
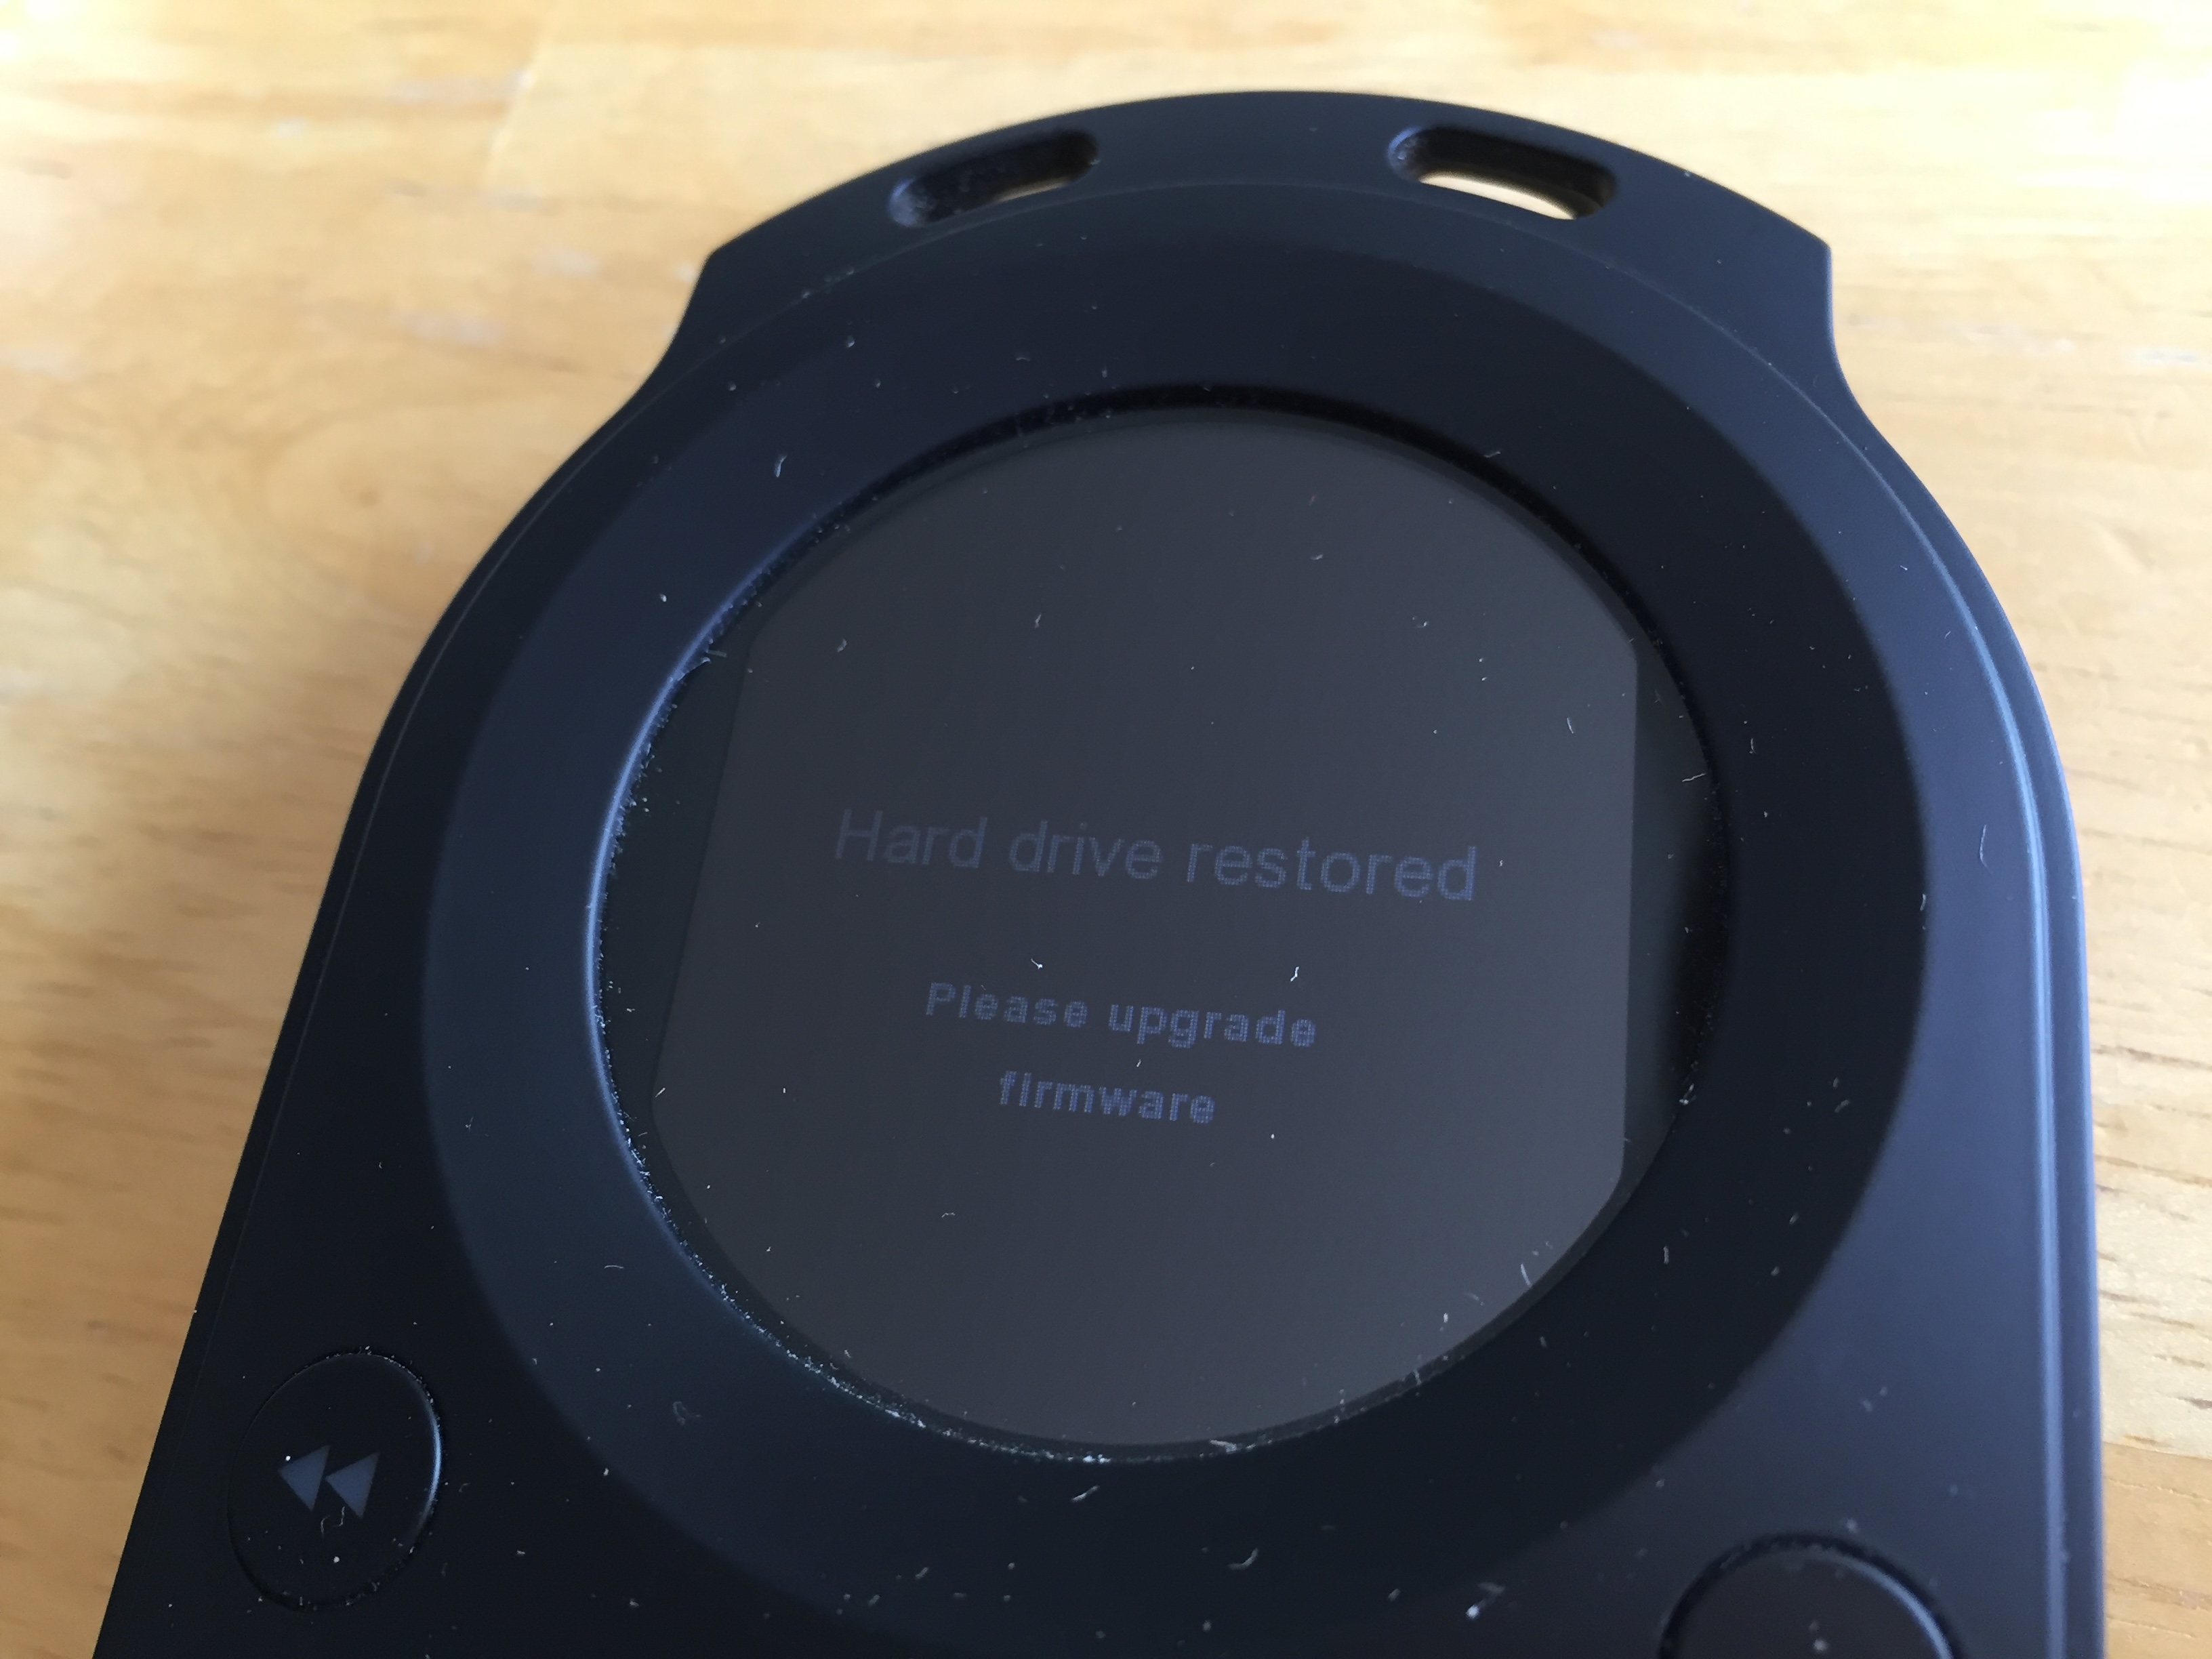
Hard drive restored. Please upgrade firmware.
Connect to your computer
Your pacemaker device should show this message after you have connect it to the computer.

Pacemaker USB connected.
Follow the instructions from pacemakerdevice.org

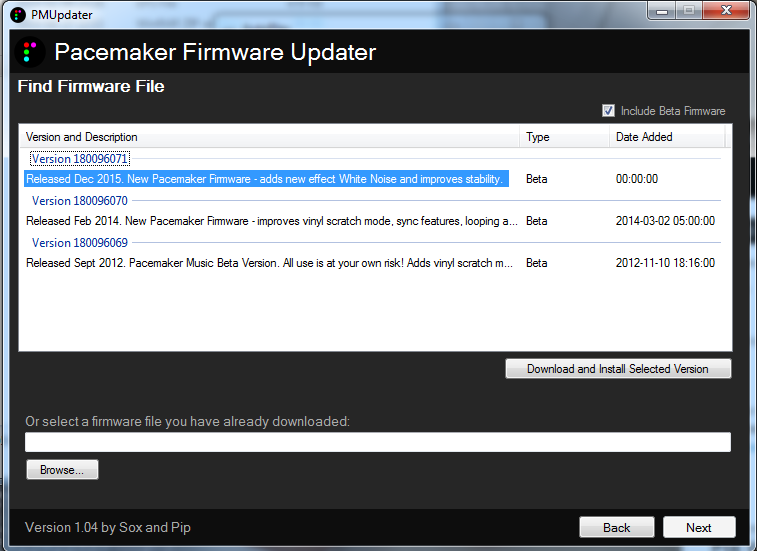
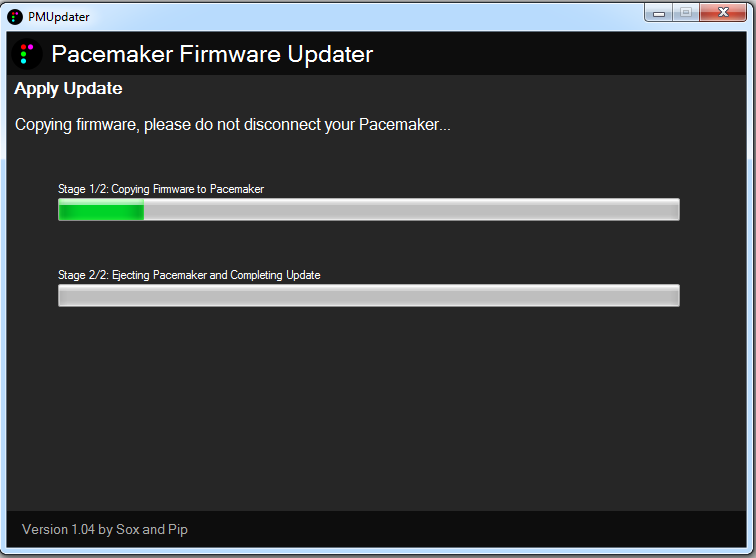
Install from PMUpdater (Windows 7)
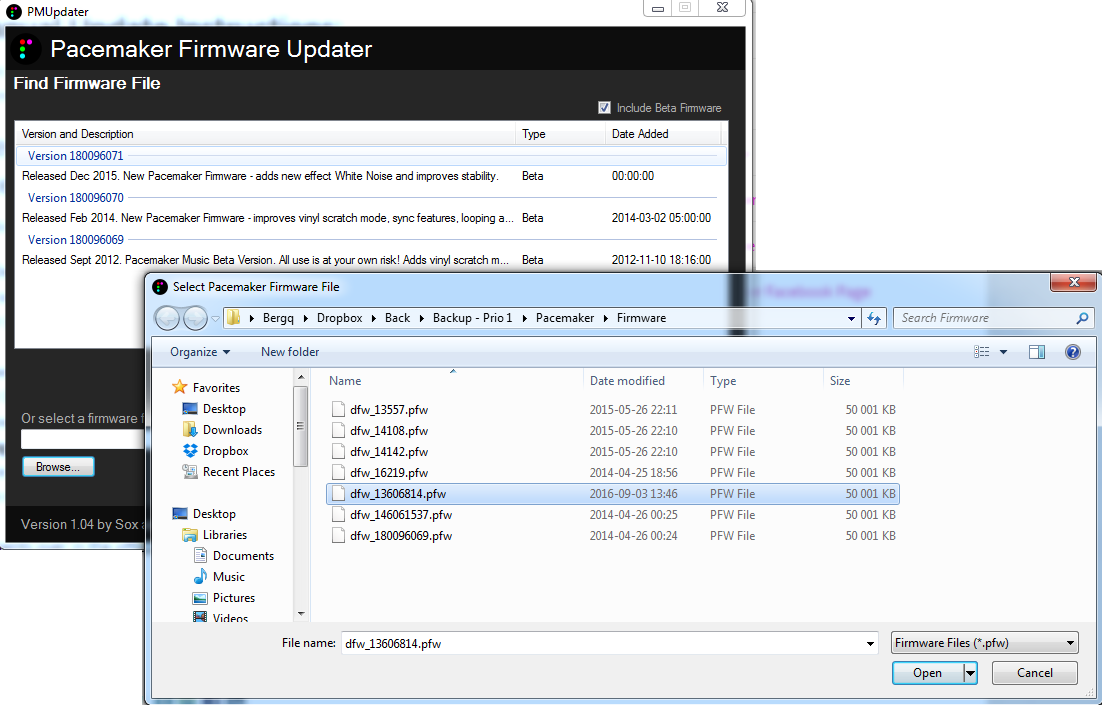
…or install from file via PMUpdater (Windows 7)
Wait for the file transfer from the computer to the Pacemaker
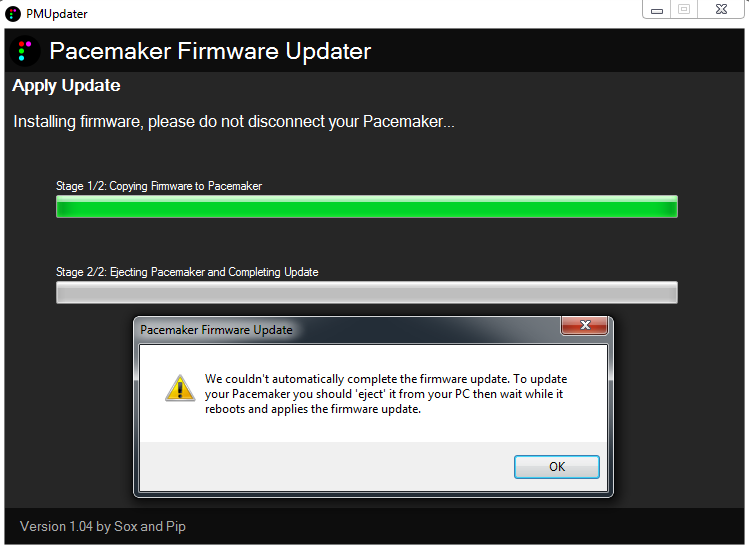
If PMUpdater could not complete the firmware update automatically.
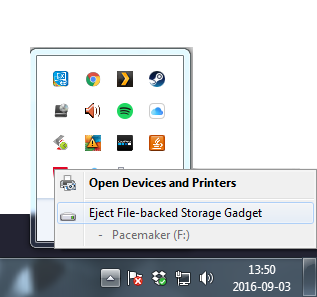
Then eject hardware from your computer.
Start your Pacemaker.
Go to settings and check the firmware version.
You are now good to go!
